
Warmups
Perform these at the start of every practice
- Mobility/dynamic stretching
- Ankle circles
- Knee circles
- Knee bends
- Hip circles (all directions)
- Cossack squats
- Waist bending
- Down
- Back
- Sides
- Waist twisting
- Twist waist and swing arms lightly slaping front and back
- Twist into dragon down to knee then to the floor holding stretch at the end position
- Circle arm around knee and twist at the waist
- Shoulder/Chest
- Circle hands around chest leading with the elbows. Focus on opening and closing the chest
- Teacup exercise
- Neck
- Look left/right/up/down
- Half circles front/back
Cooldown/Ending Practice
Perform these at the end of every practice
- Seated meditation
- Seated stretching
- Butterfly stretch
- Forward fold
- Straddle (pancake) stretch
Week 1
- San Ti stance
- Beng Quan element and footwork
- Simple partner pushing exercises
Week 2
- Review Week 1
- Tiger stance
- Footwork: Shuffle step
Simple partner pushing exercises
Week 3
- Review Weeks 1 & 2
- Chicken stance
- Footwork: chicken step
- Heng Quan element
- Simple partner pushing exercises
Week 4
- Review Weeks 1-3
- Footwork: Combined step
- Pao Quan
- Simple partner pushing exercises
- Simple self defense drills
Week 5
- Review Weeks 1-4
- Pi Quan
- Simple partner pushing exercises
- Simple self defense drills
Week 6
- Review Weeks 1-5
- Zuan Quan
- Simple partner pushing exercises
- Simple self defense drills
Review notes for the student's solo practice.
Week 1
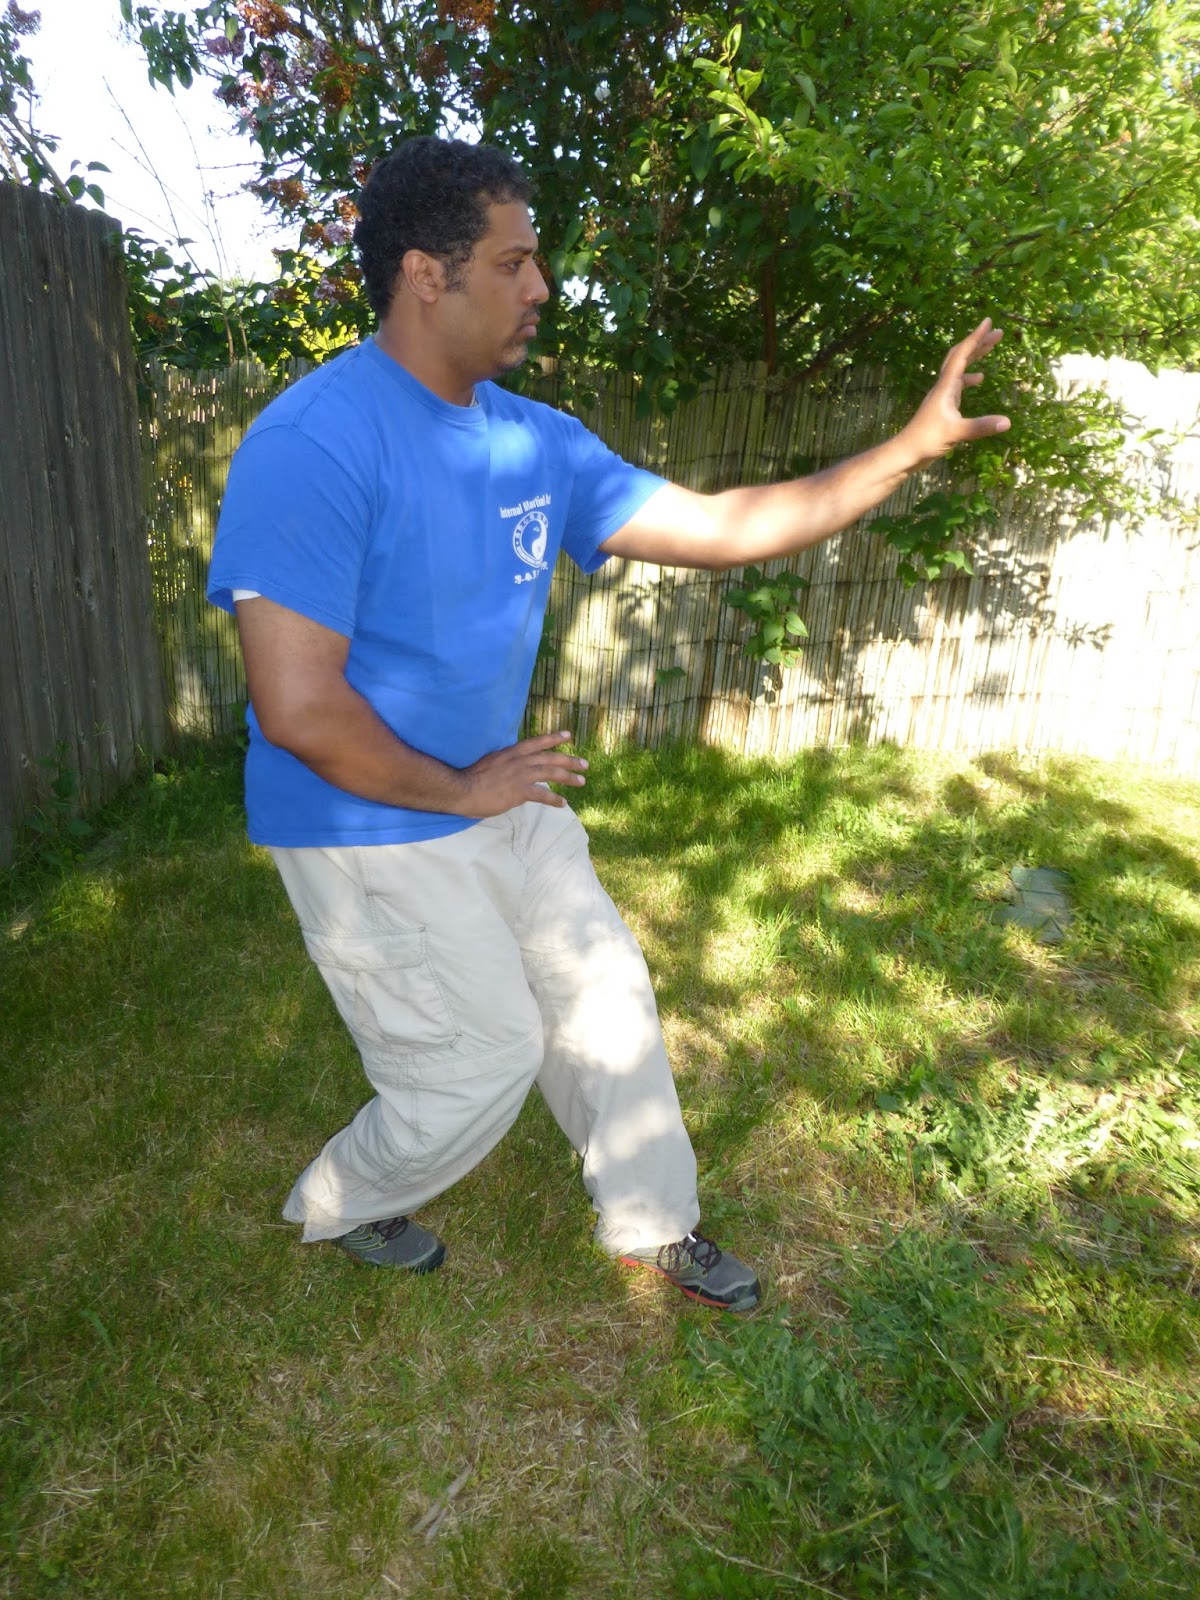
San Ti
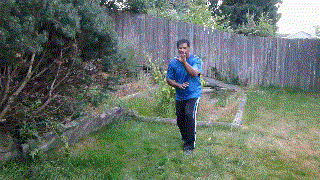
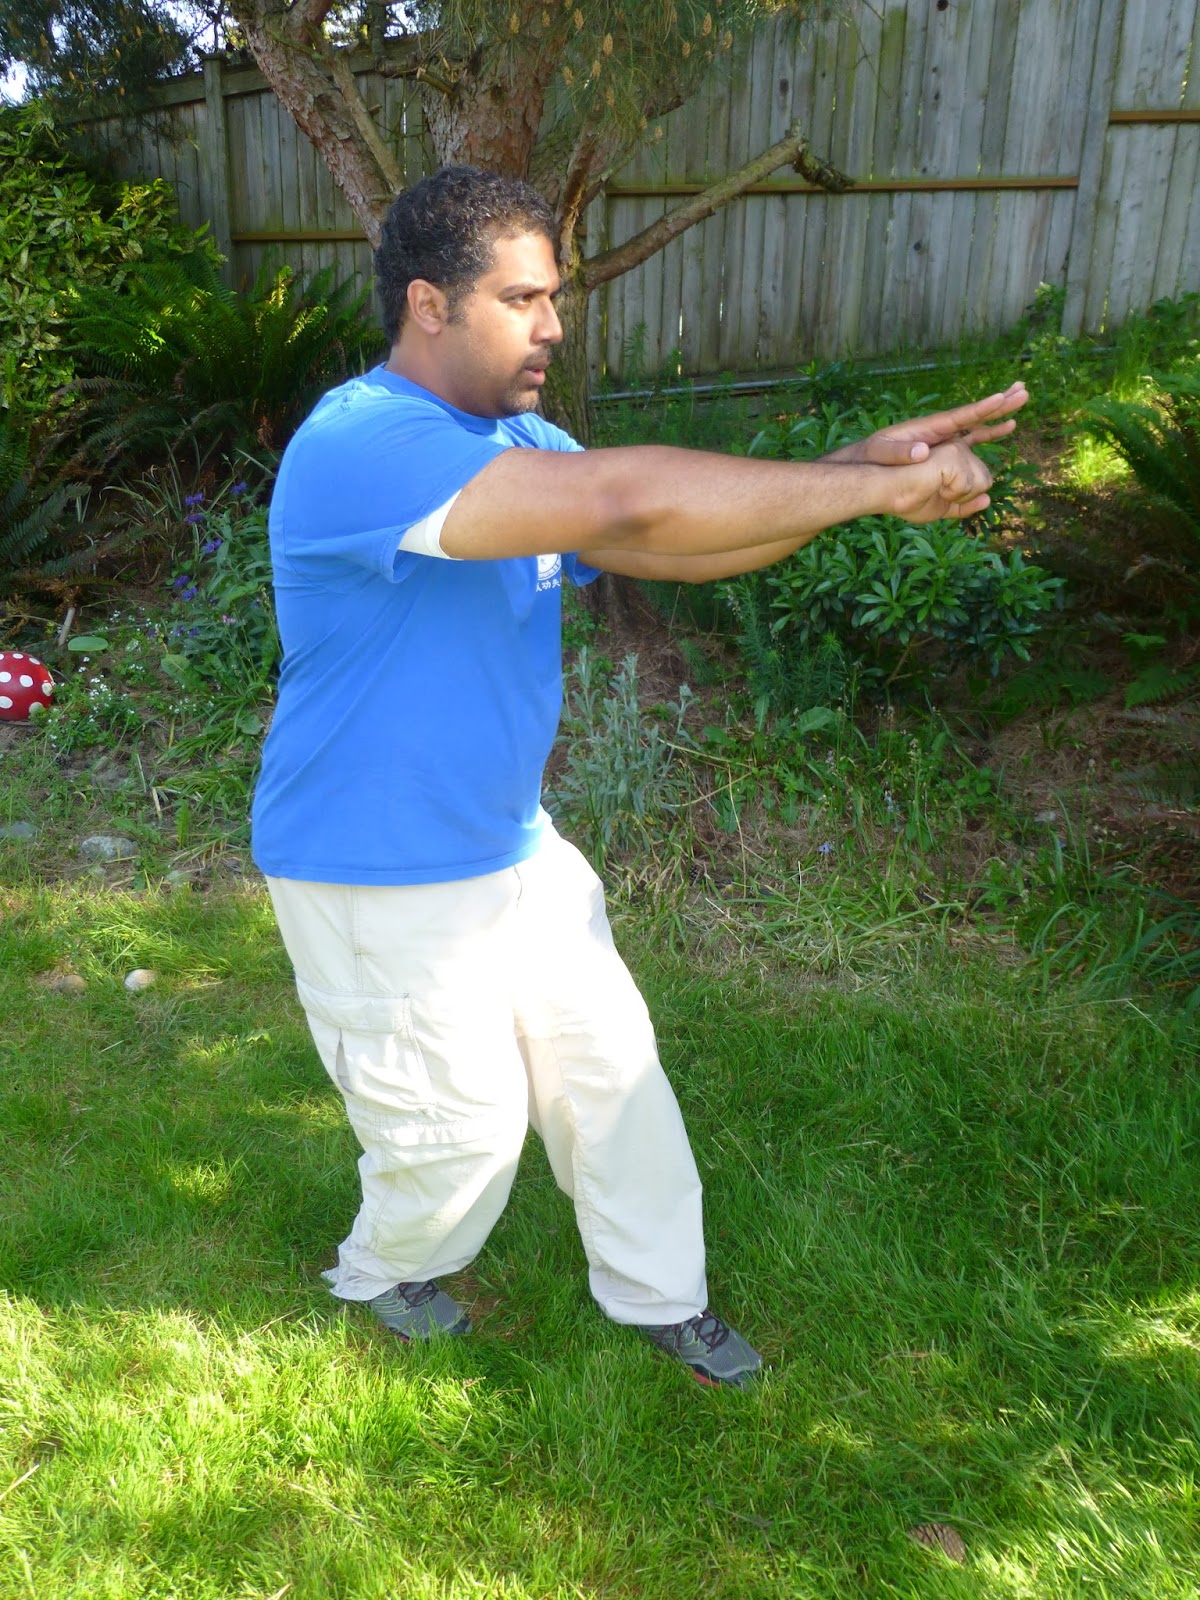
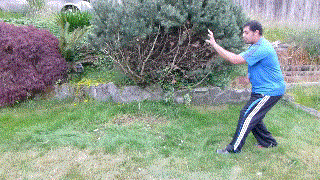
In our style of Xing Yi, San Ti is a mostly one-legged stance, with about 90% of the body's weight on the back leg. San Ti is traditionally the most important stance in Xing Yi styles. Stance training is inherently uncomfortable, but it's important to not push it too far. A training goal is to hold for about 2 minutes on each side while placing emphasis on proper structure. Go as far as you can without sacrificing proper form. Muscle pain is ok, joint pain means you're not doing it correctly.
Key Points:
- Weight on the back leg, knees touching together.
- Sink down, straightening out the lower back and rounding the top back.
- Allow hips to rotate slightly under. Do not force it.
- Quarter-turn the body, the front hand rising up to eye level, the back hand resting just below the navel.
- Keep the chin tucked in.
- Keep the joints relaxed and not fully extended.
- Keep the tongue resting on the roof of the mouth, touching behind the front teeth.
- Try to breathe normally and naturally.
- If your hips are flexible enough, you can cross the front leg about 45 degrees in front of the back. This is done by rounding the hips, however, not by twisting the knee.
- Again: Muscle pain is ok, joint pain means you're not doing it correctly.
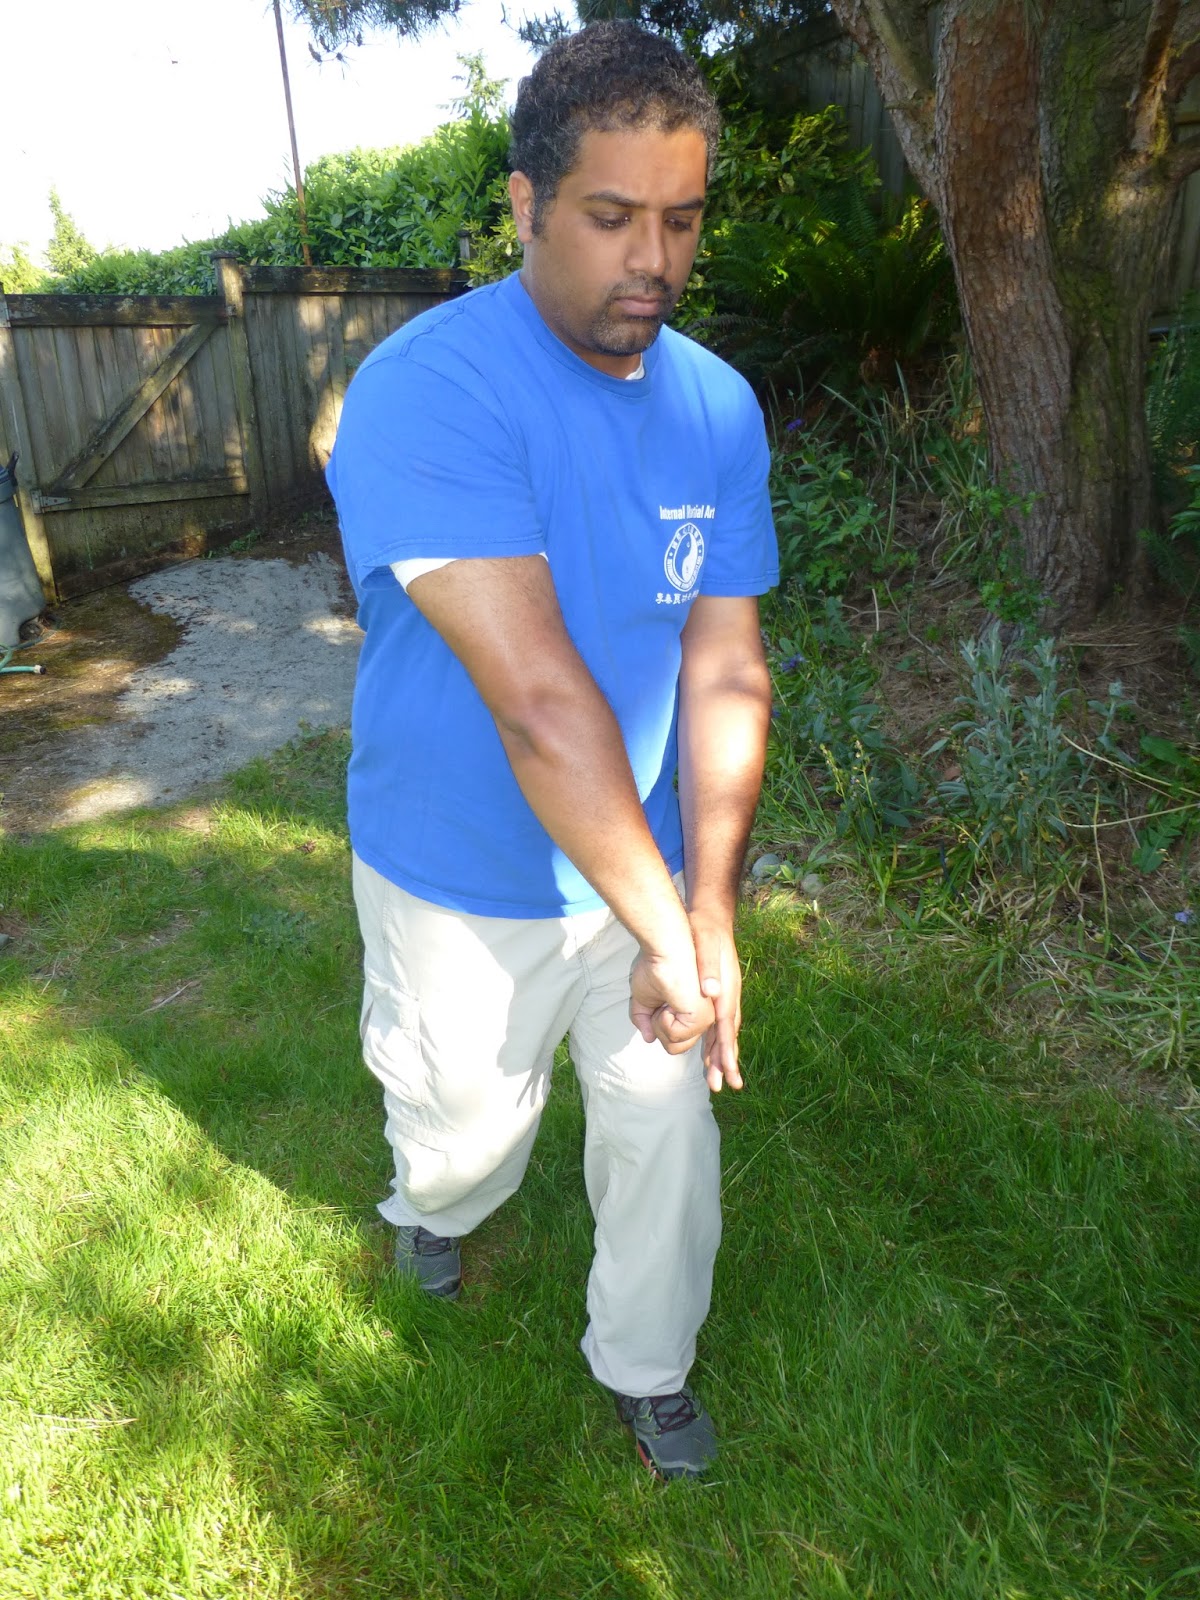
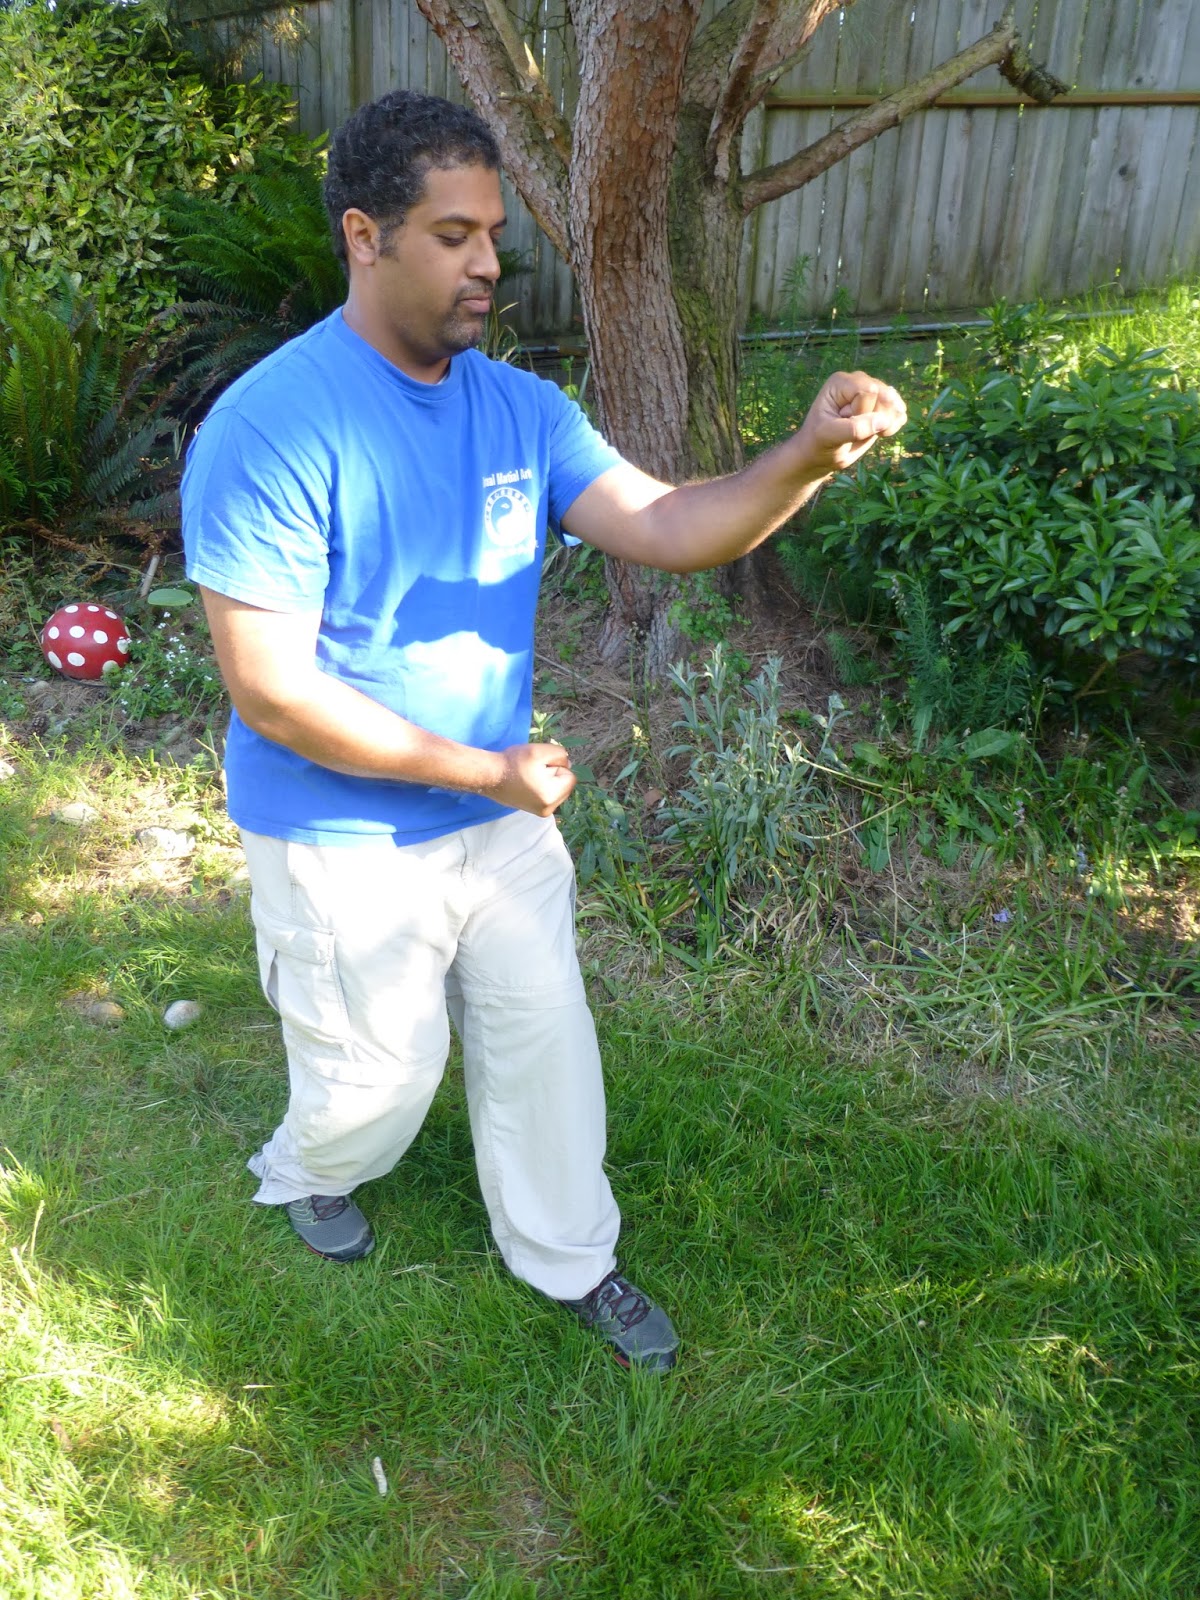
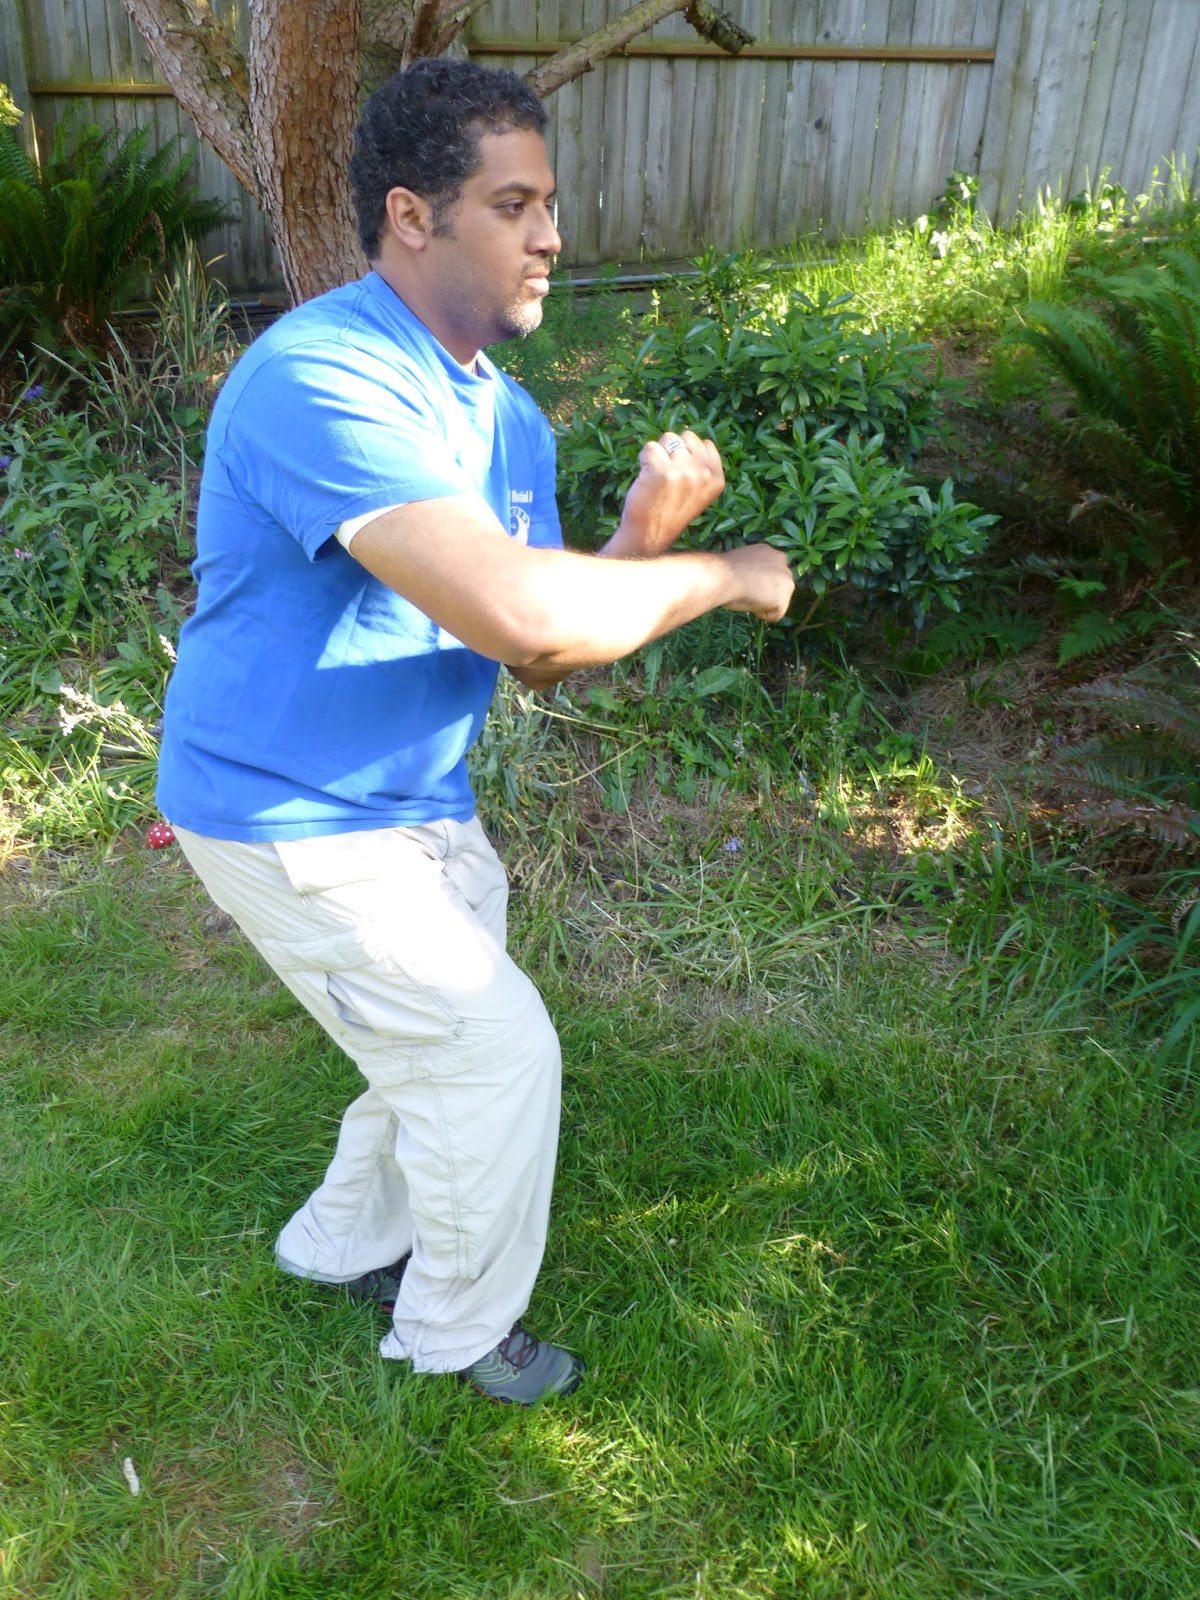
Beng Quan
Beng Quan is traditionally the 2nd of the five elements, but we're teaching it first because it's the easiest to learn. As with all the elements, it's best to have the attitude that this is a solo training tool, or a concept of a type of movement, not to look at it as a literal technique with only one type of usage. For solo training, the arms typically remain around waist-level.
This element usually stays in a one-sided stance; for instance if the left leg starts forward it stays forward throughout. So remember to switch sides about halfway through the practice session. The description below is just for the stance with the left leg forward; flip it for the right leg forward stance.

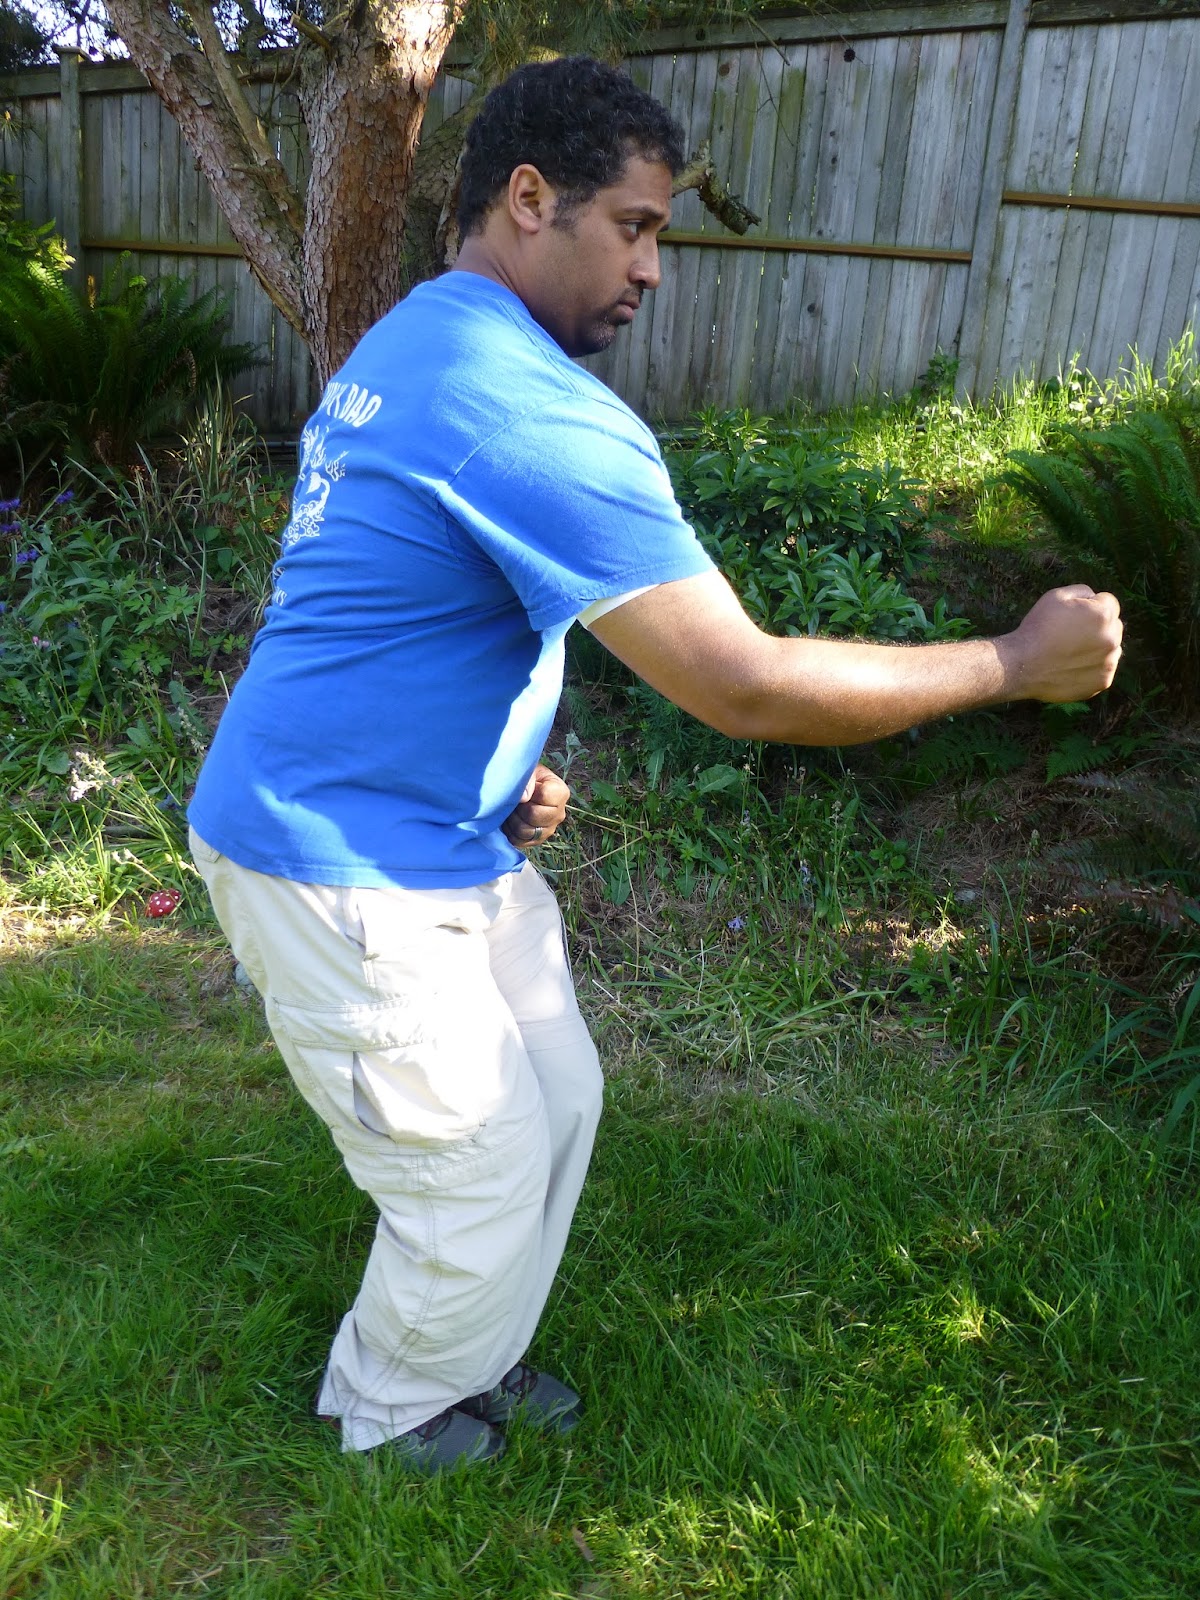
Key Points:
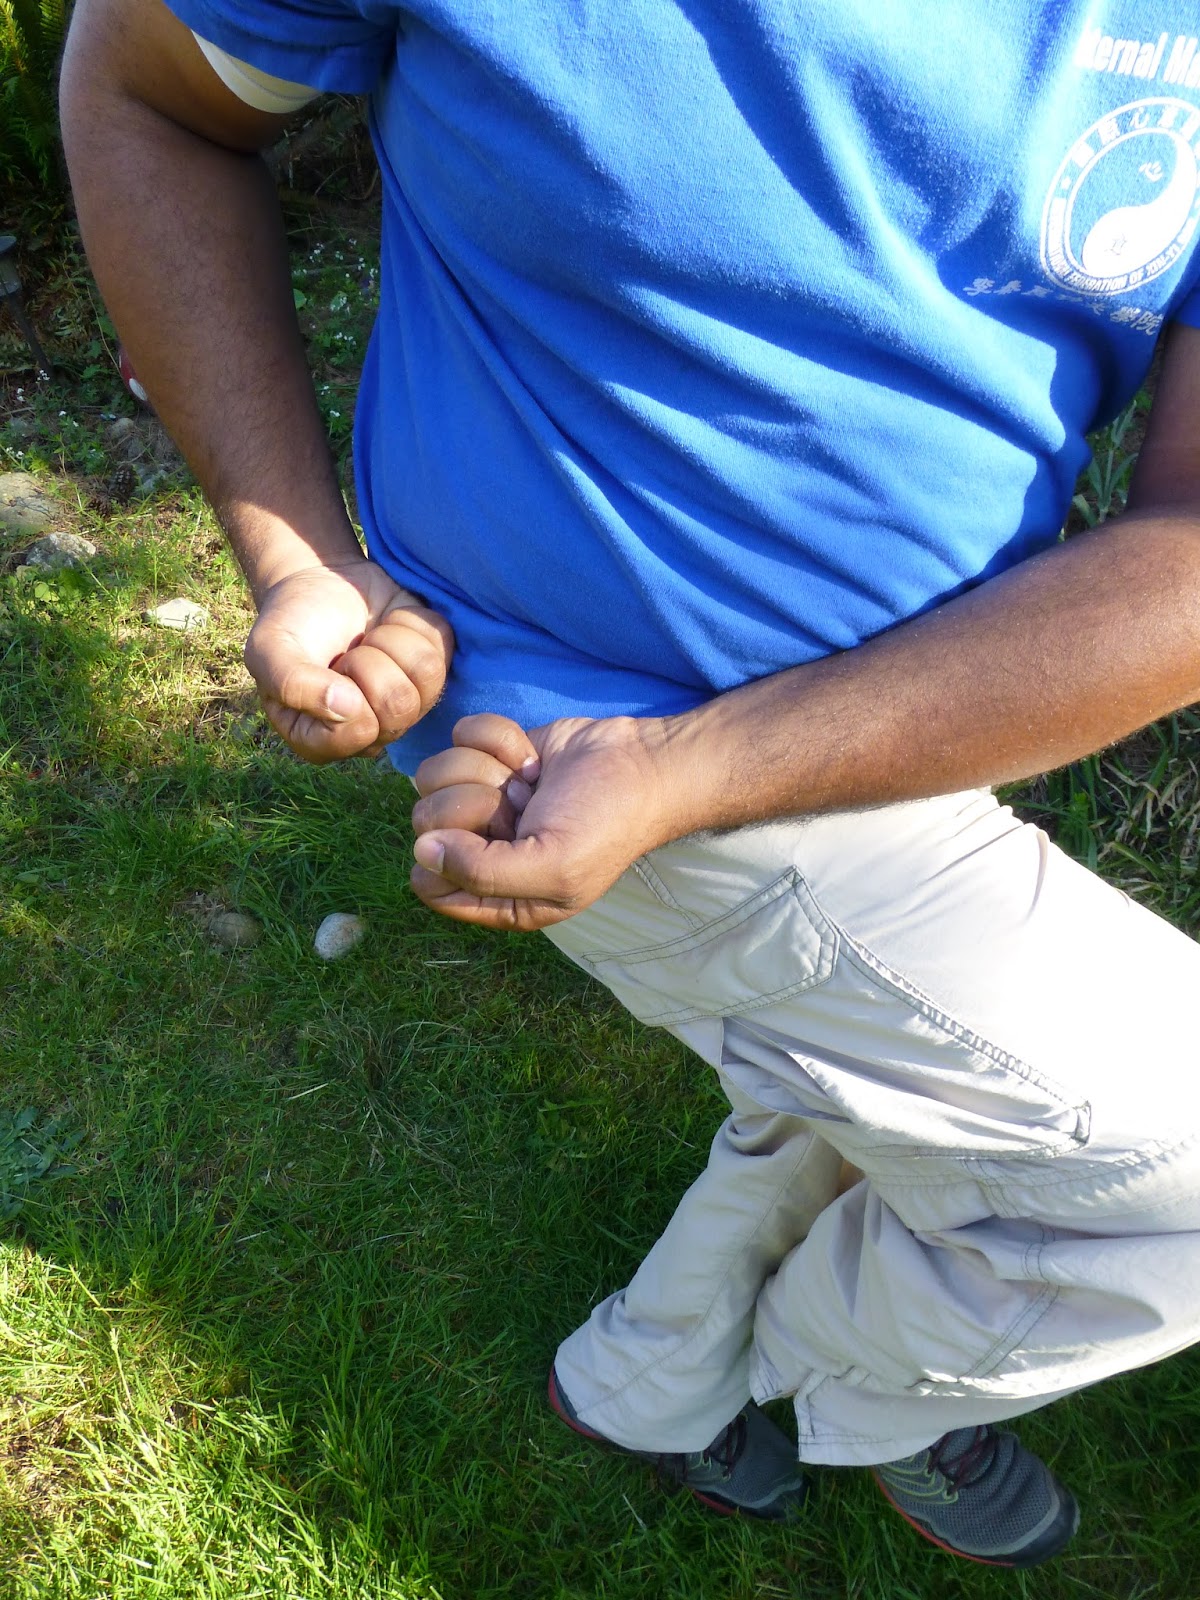
- The left leg and arm come out together, the left arm sliding over the right arm. The right arm also pulls back to belly.
- Stretch out a little more, the left leg and arm coming out a little more, the right arm pulling back a little more.
- The right arm and leg come forward together, the right arm sliding over the left arm, the left arm pulling back to the belly. The right leg still stays behind the left, but comes up right behind it, with the right foot at about a 45 degree angle.
- Remember to remain a quarter-turn stance just like San Ti.
- Keep the chin tucked in and the back rounded.
- Keep the joints relaxed and not fully extended.
- Keep the tongue resting on the roof of the mouth, touching behind the front teeth.
- Again: Muscle pain is ok, joint pain means you're not doing it correctly.

Week 2
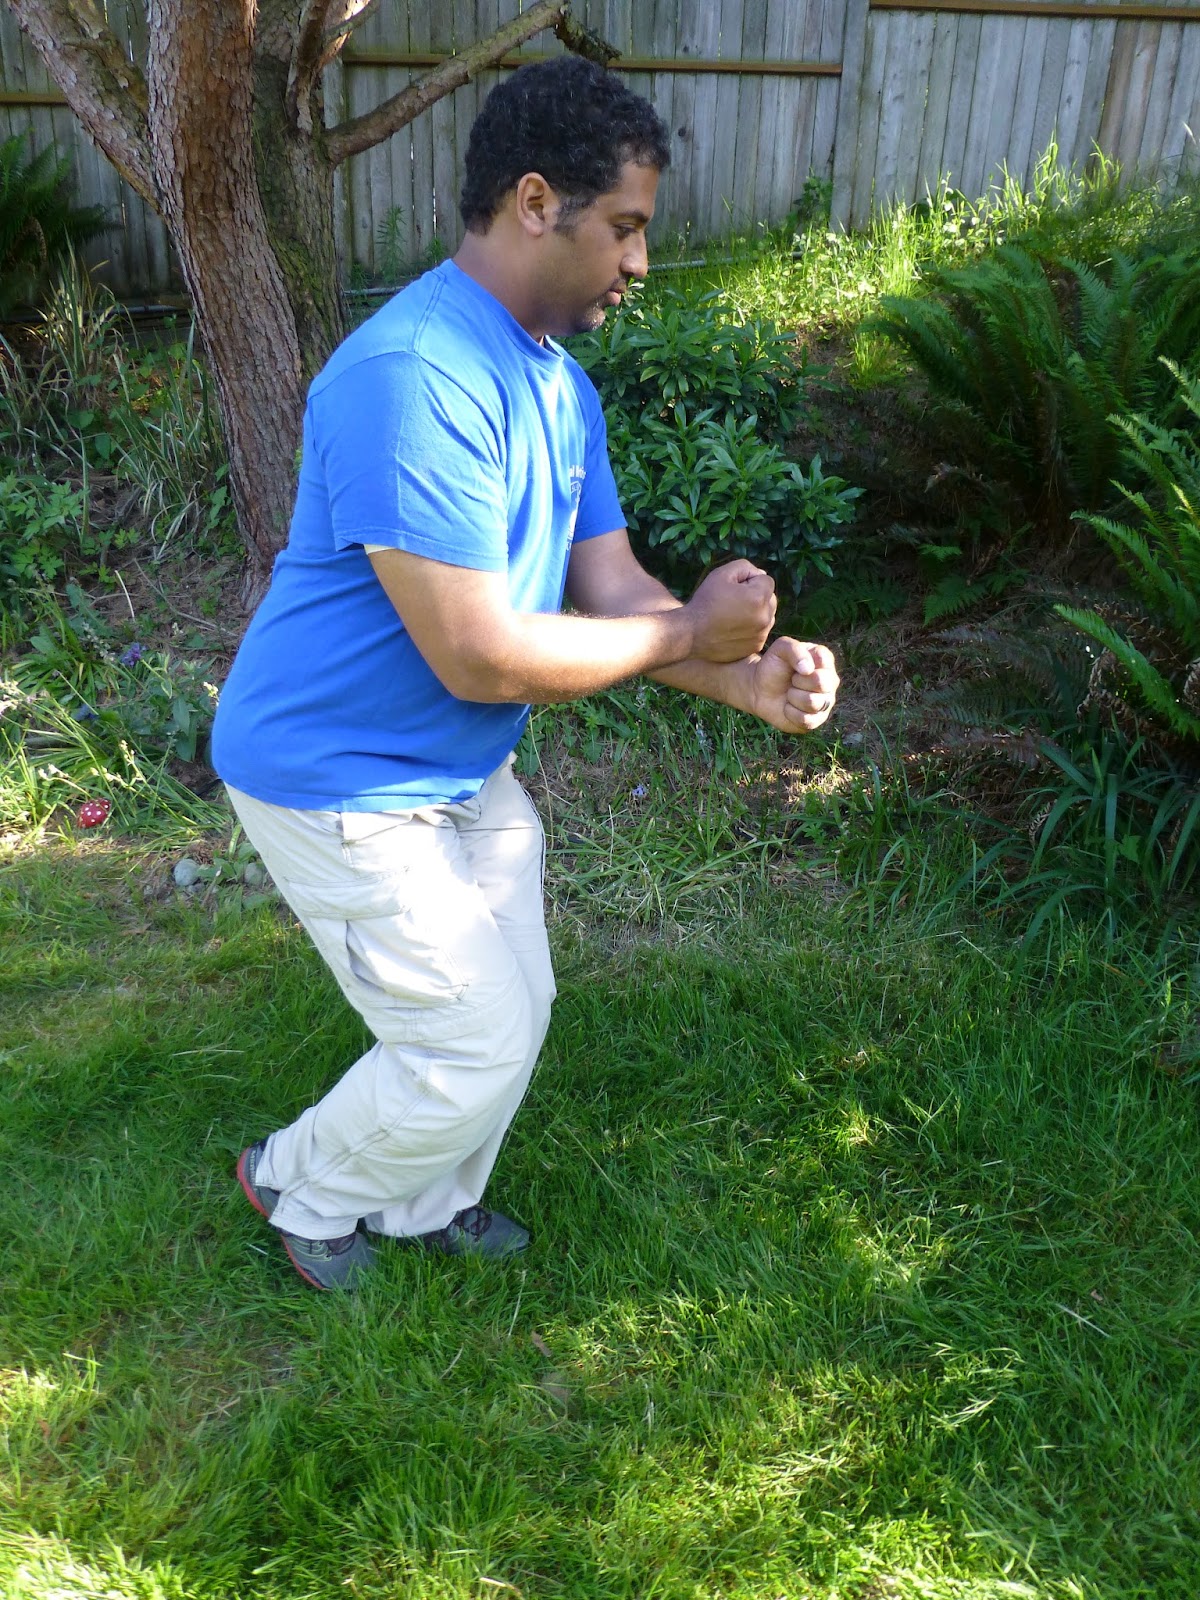
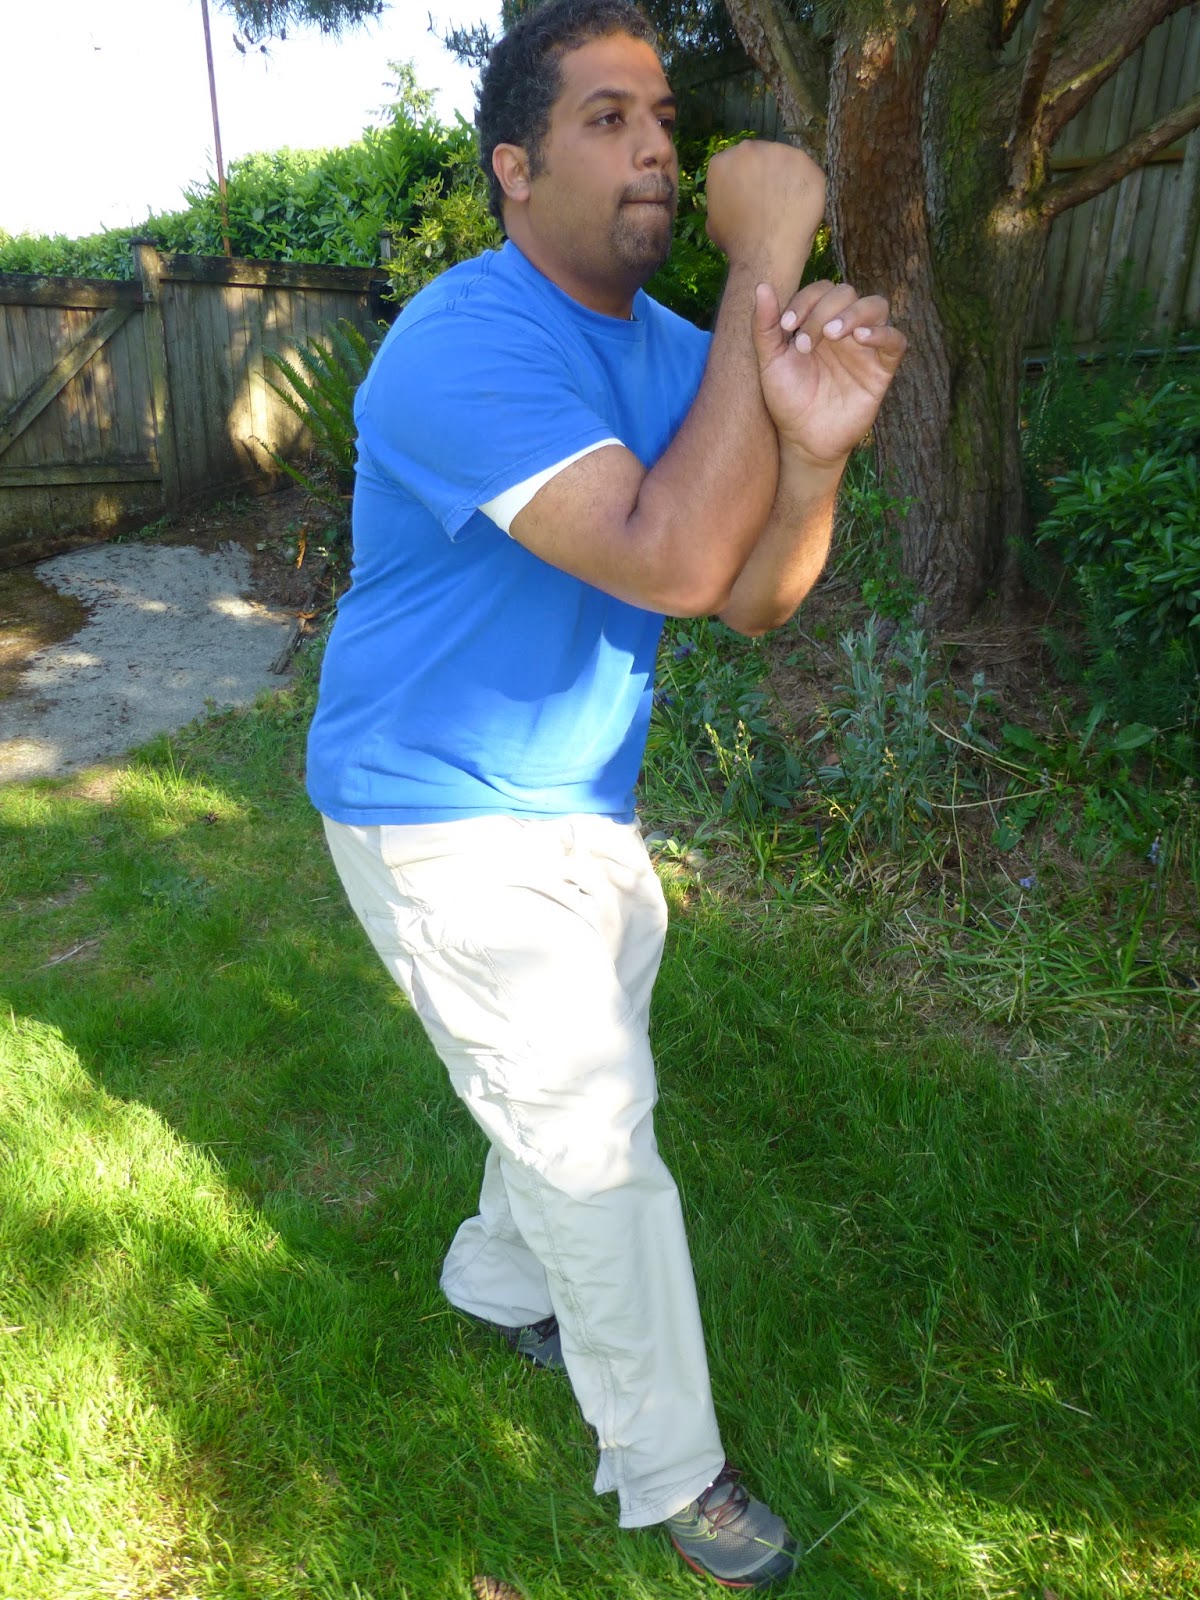
Chicken Stance
The Chicken Stance, like San Ti, should be held for about 2 minutes on each leg. This stance is fully on one leg.
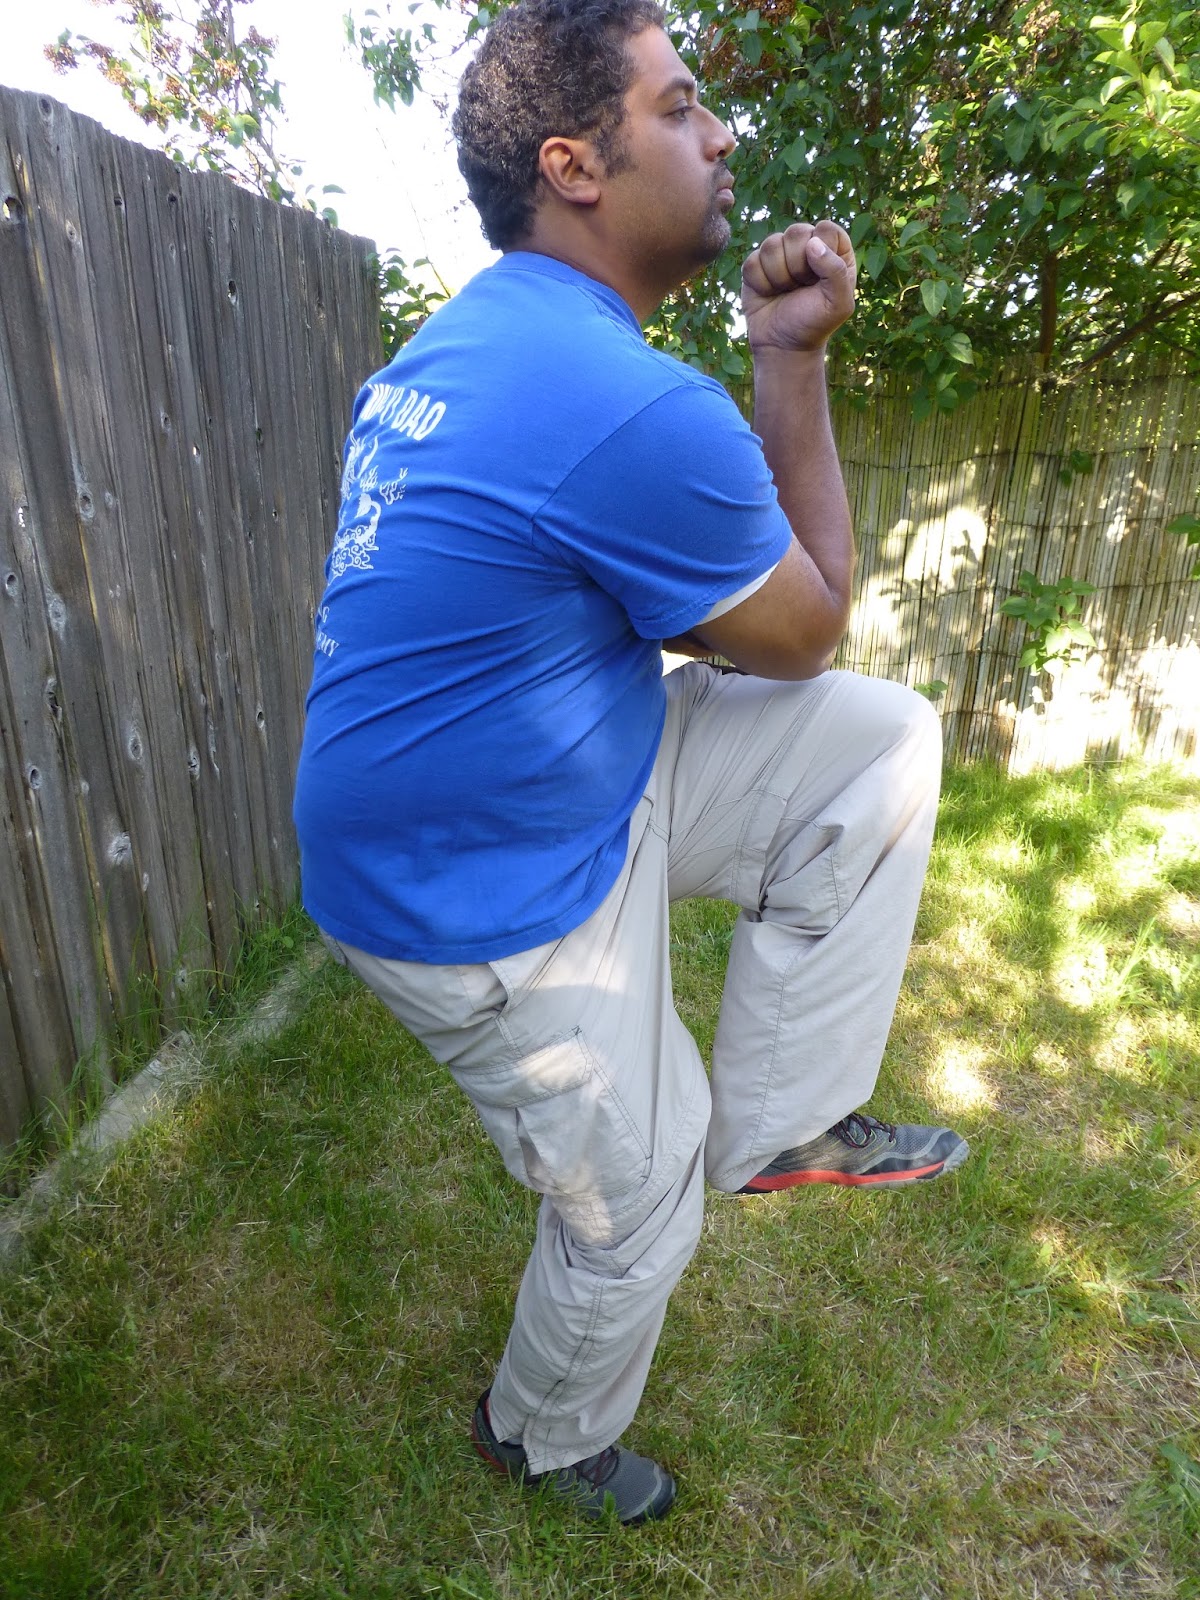

Key Points:
- One leg stays on the ground as the other leg rises up to about knee height.
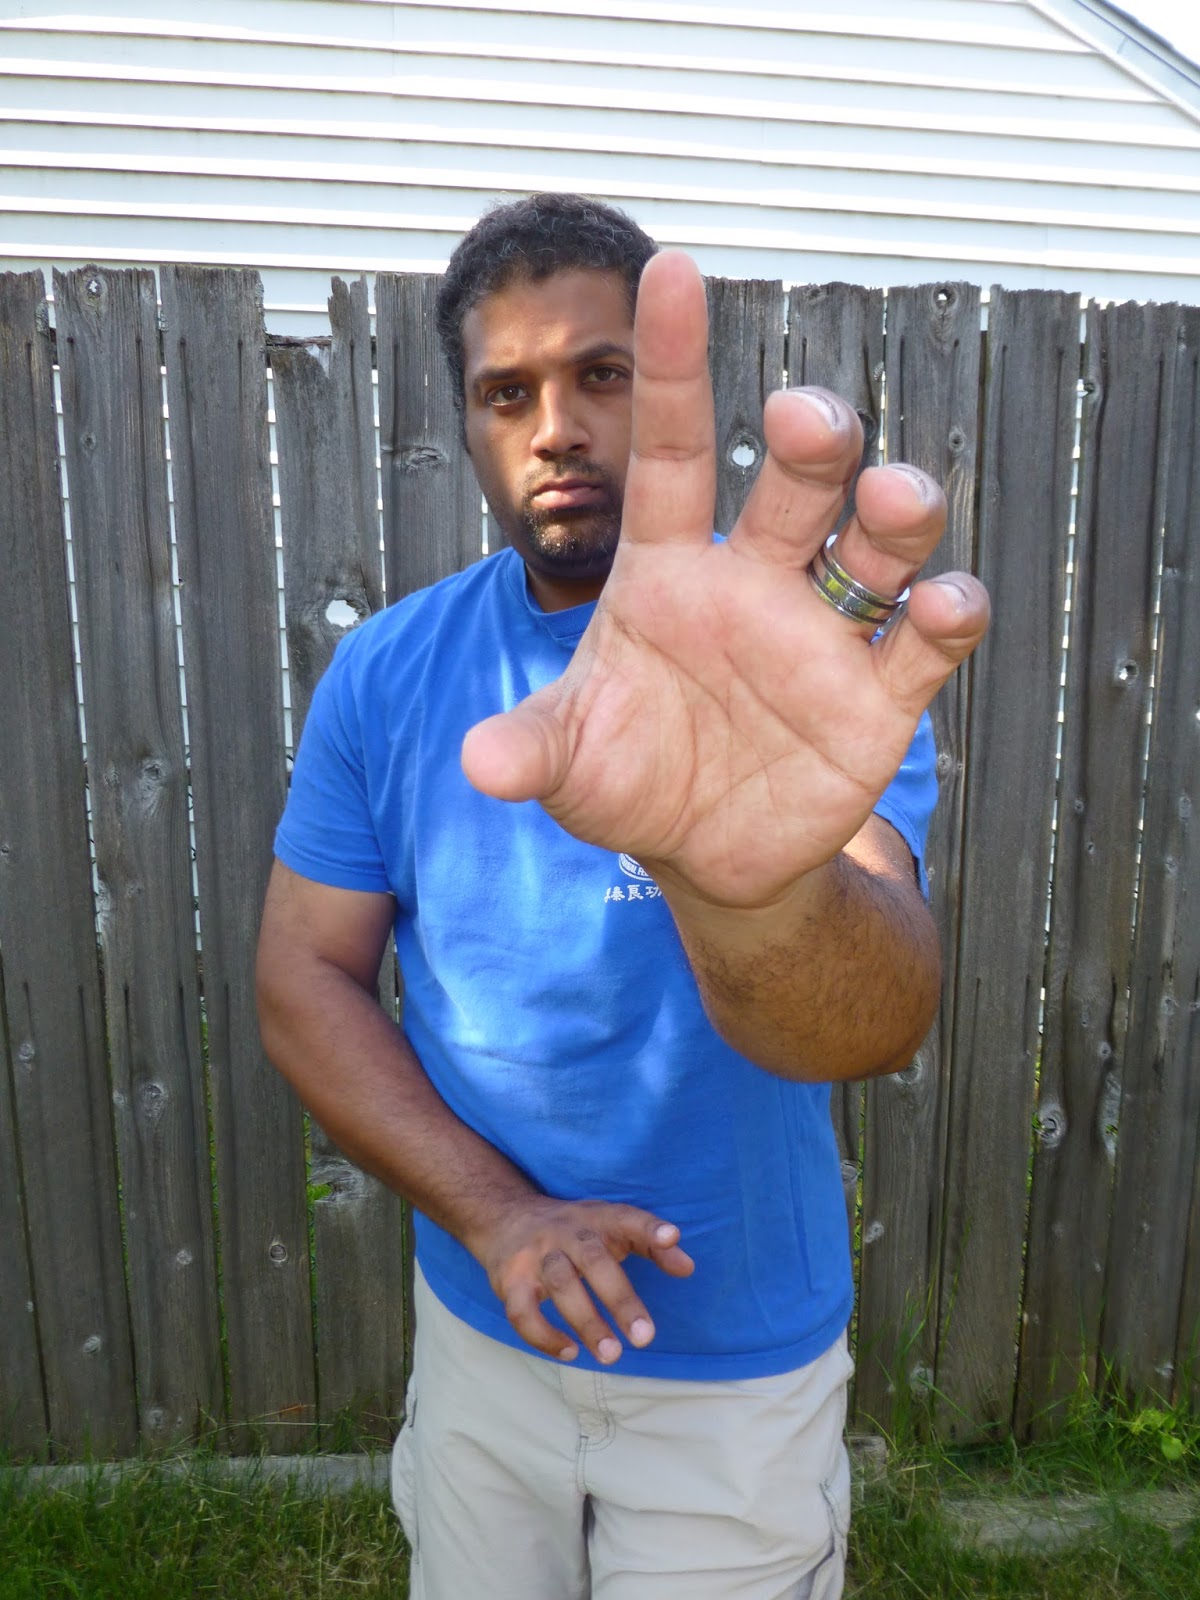
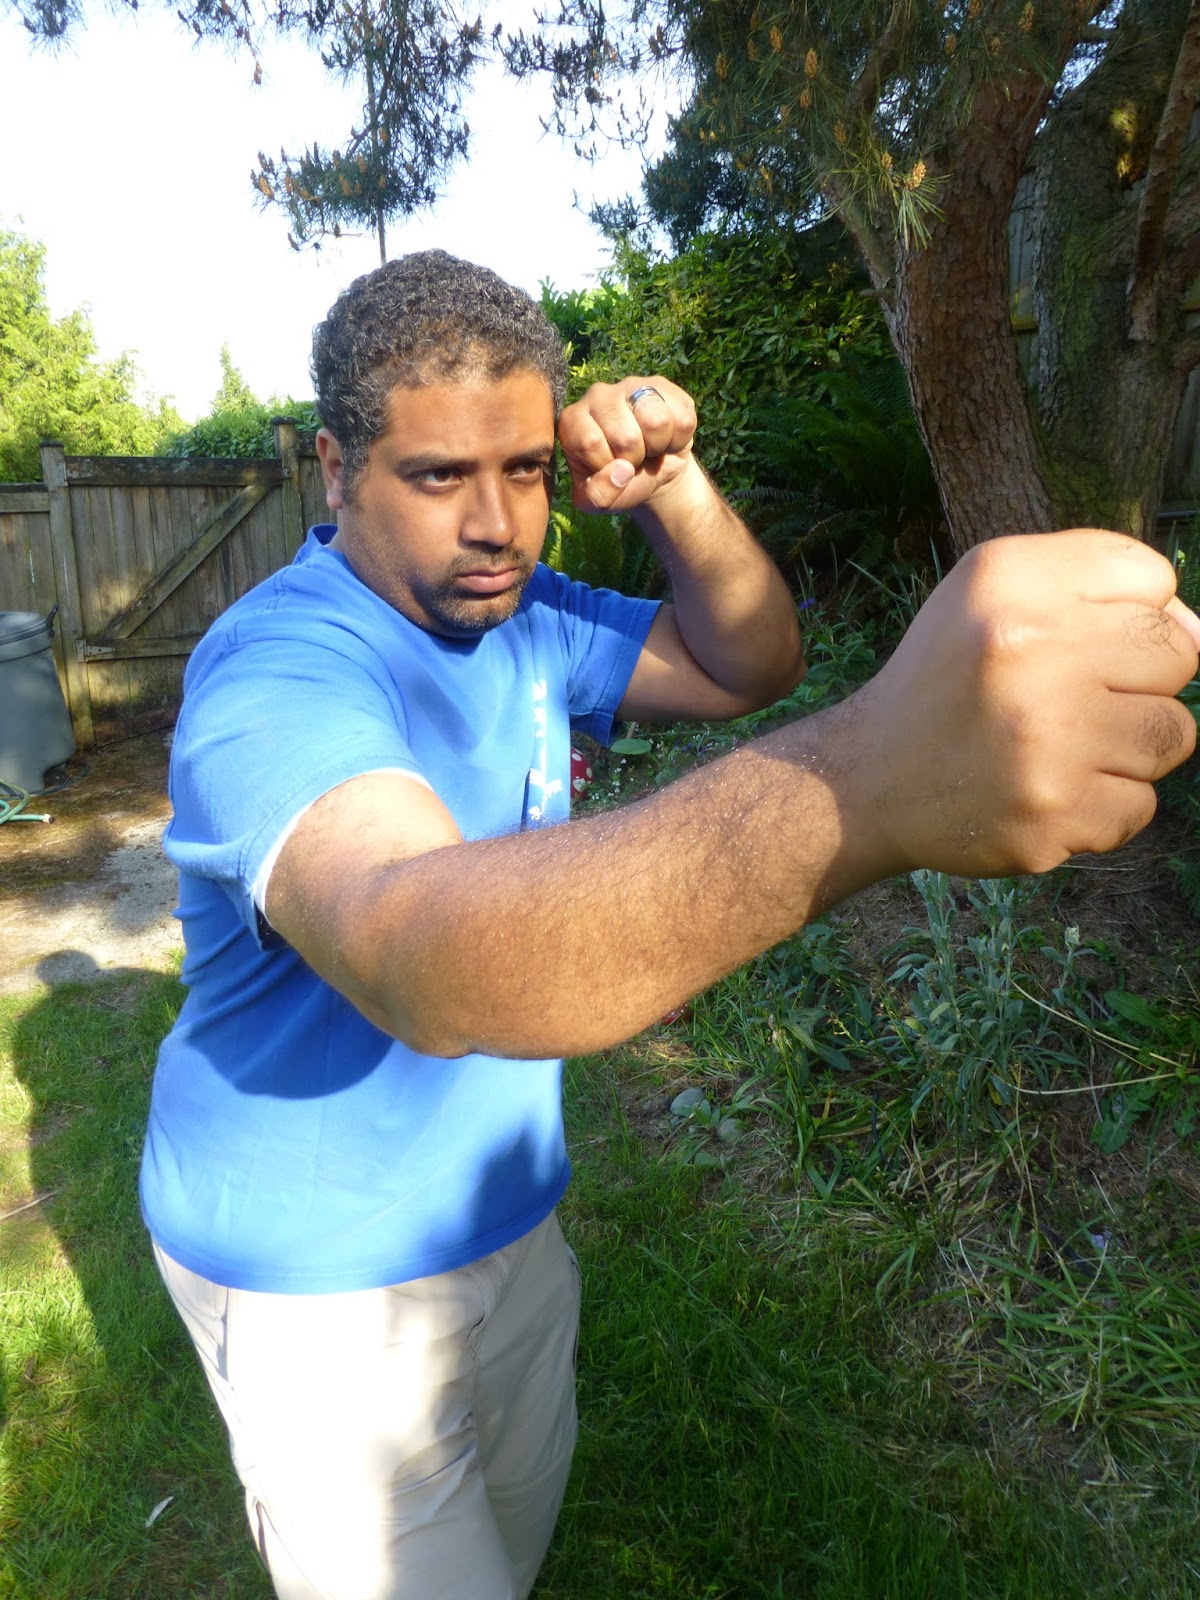
- The arm on the same side as the standing leg tucks its elbow in toward the raised leg, and the fist twists so that the thumb faces outward. The fist is up just under the chin.
- The other arm rests on the raised leg.
- Scrunch your body down until your chin is right above your raised fist. Your head should be bent back about as far as it'll go at this point.
- Keep the joints relaxed and not fully extended.
- Keep the tongue resting on the roof of the mouth, touching behind the front teeth.
Footwork
Xing Yi footwork is fairly precise and can take some getting used to. The end result is the Combined Step, so it's best to start with the 2 components that make it up: Chicken Step and Shuffle Step. All the stepping starts with an assumption that you're in a San Ti stance, with the left leg forward.
Chicken Step
The left leg scoots forward, lightly scraping the floor. Quickly place all your weight on the left leg, and the right leg follows up, hovering at calf-height for a second. Now the right leg scoots forward, lightly scraping the floor, and the left leg quickly follows up to hover at calf-height for a second, etc.
Shuffle Step
The left leg scoots forward, but instead of placing weight on it, the right leg quickly scoots forward until it's right behind the left leg. The weight stays on the right leg. Do this several times in a line, then turn around and do the same but with the right leg forward, and the weight on the left leg.
Combined Step
Combined Step combines the Chicken and Shuffle Steps. Starting in San Ti with the left leg forward, scoot the left leg forward into a chicken step. Now, with the right leg starting at calf-height, scoot the right leg forward and scrape it lightly across the ground. Instead of placing weight on the right leg, scoot the left leg up until it's right behind the right leg. Now do the same, but the sides reversed.
Week 3
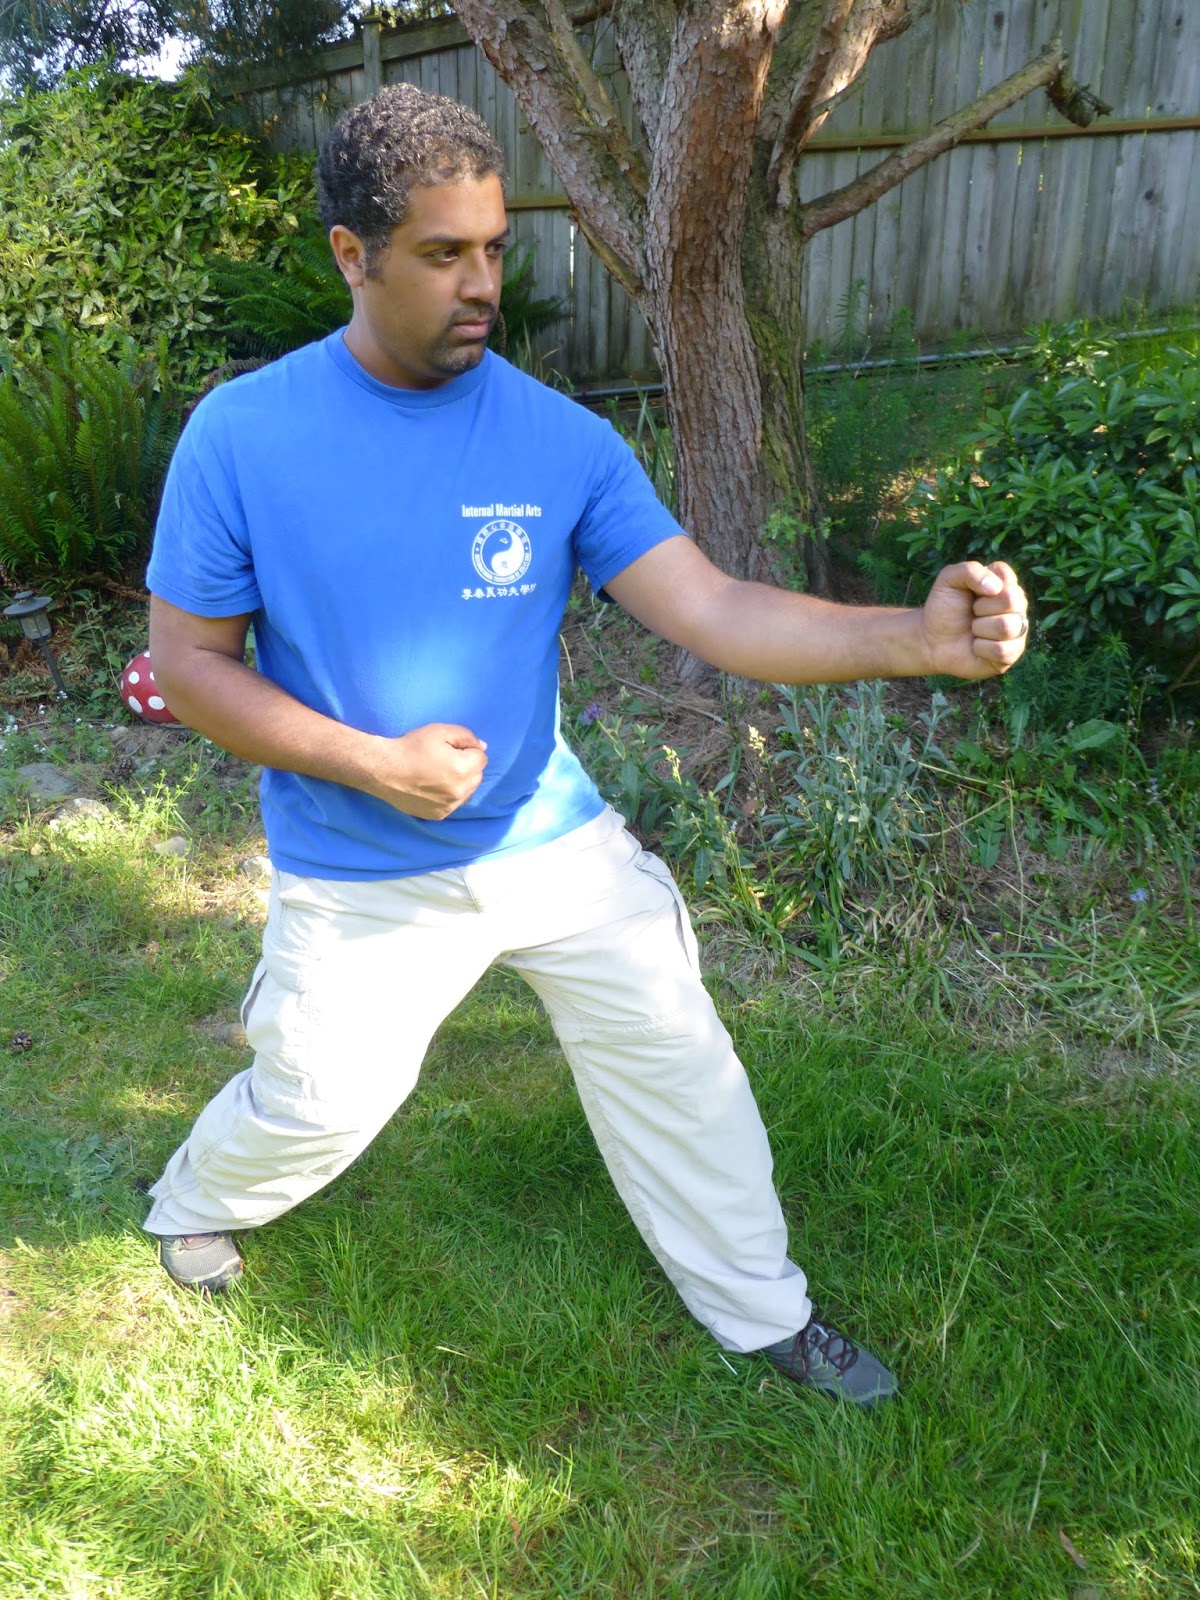
Tiger Stance
Tiger Stance is the 3rd main stance, and the last stance that beginning students need to learn. Hold this stance for about 2 minutes each side. This time, the weight is more equal between each leg, or you can do 60/40, front leg/rear leg.
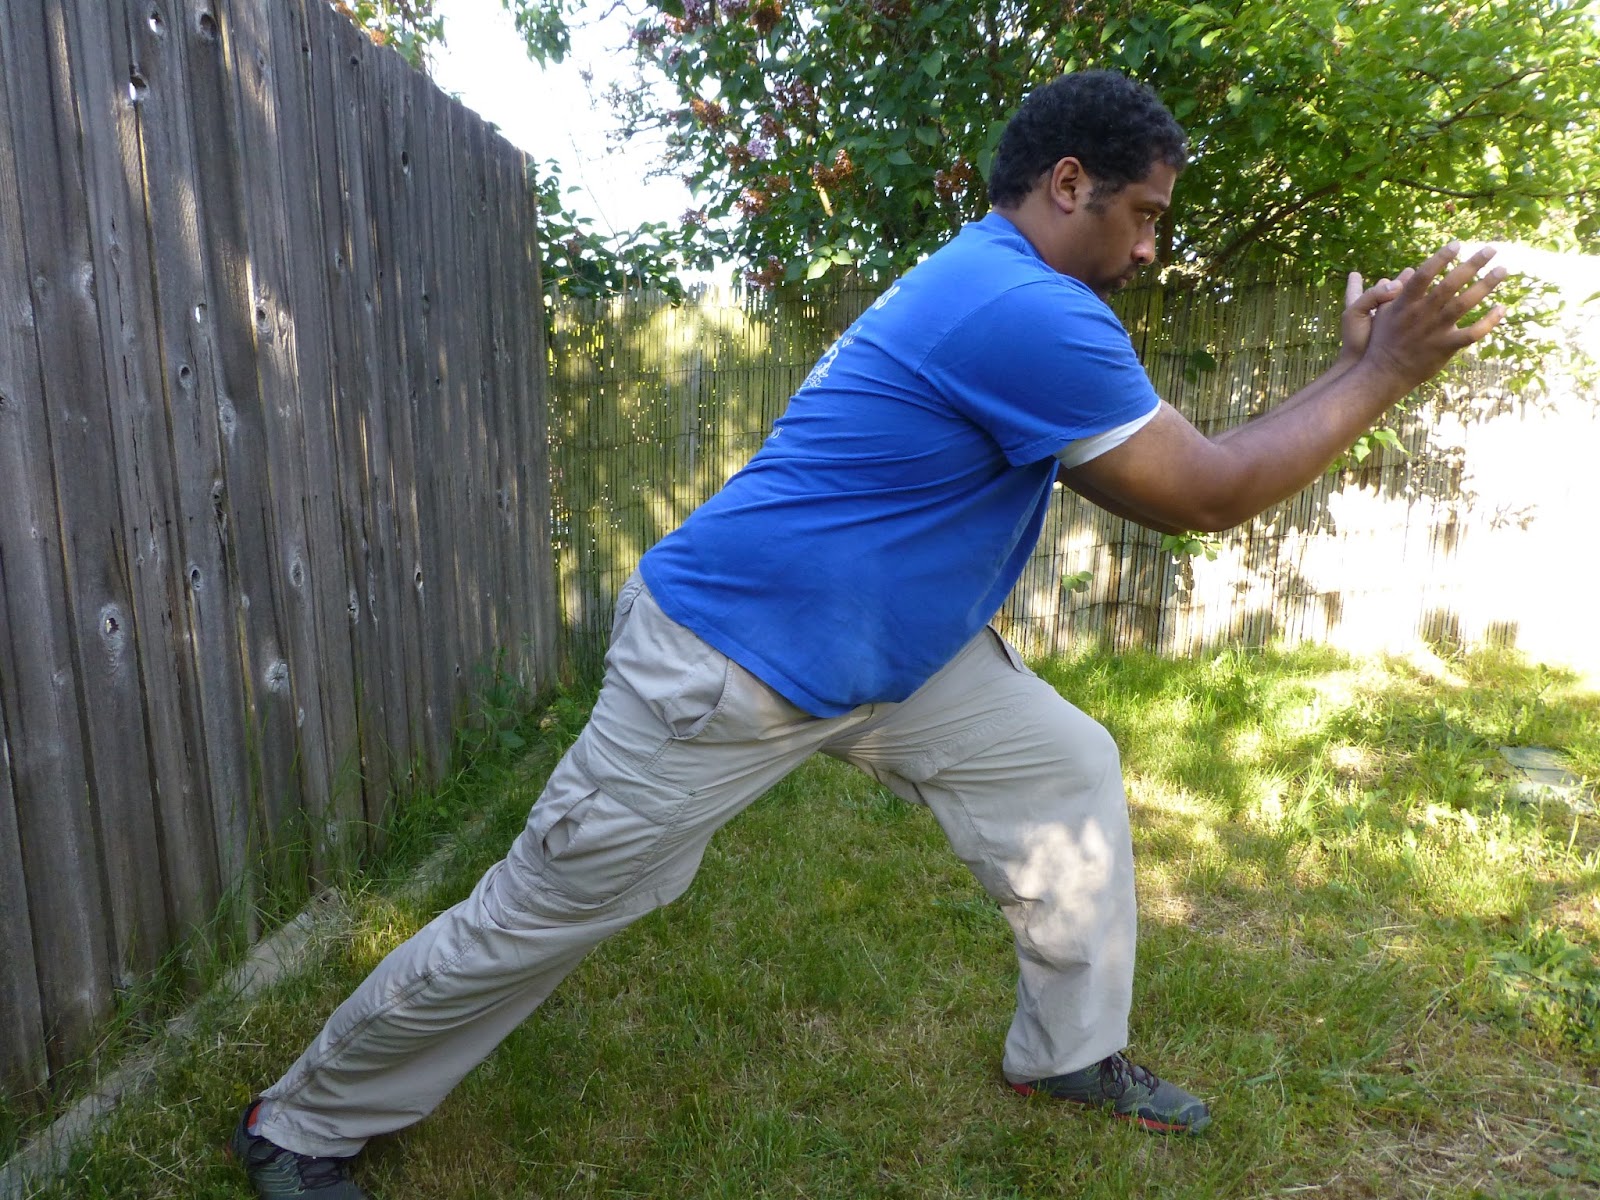
Key Points:
- From a San Ti stance, step the front leg forward and put weight on it until the front knee is right above the front toes. If you have bad knees, you can put the front knee back a little more towards the middle of the foot. Another cue is to keep the front shin vertical. Depending on your flexibility you may feel a stretch in your hamstrings (front leg) and/or hip flexors (rear leg).
- The rear leg straightens out, but not to the point that any joints are locked. The space between the front leg and rear leg is as much as you can comfortably handle. The end goal is to have the front thigh parallel with the ground, but gradually work towards this maintaining proper structure is most important.
- The back curves as the arms reach forward.
- The hands open wide and meet each other in front of you at head height. The thumbs cross each other, the hands facing palms forward, and the elbows sinking in towards each other.
- Tilt the chin and your head down so that you're looking slightly up through the opening of your hands.
- Keep the joints relaxed and not fully extended.
- Keep the tongue resting on the roof of the mouth, touching behind the front teeth.
Heng Quan
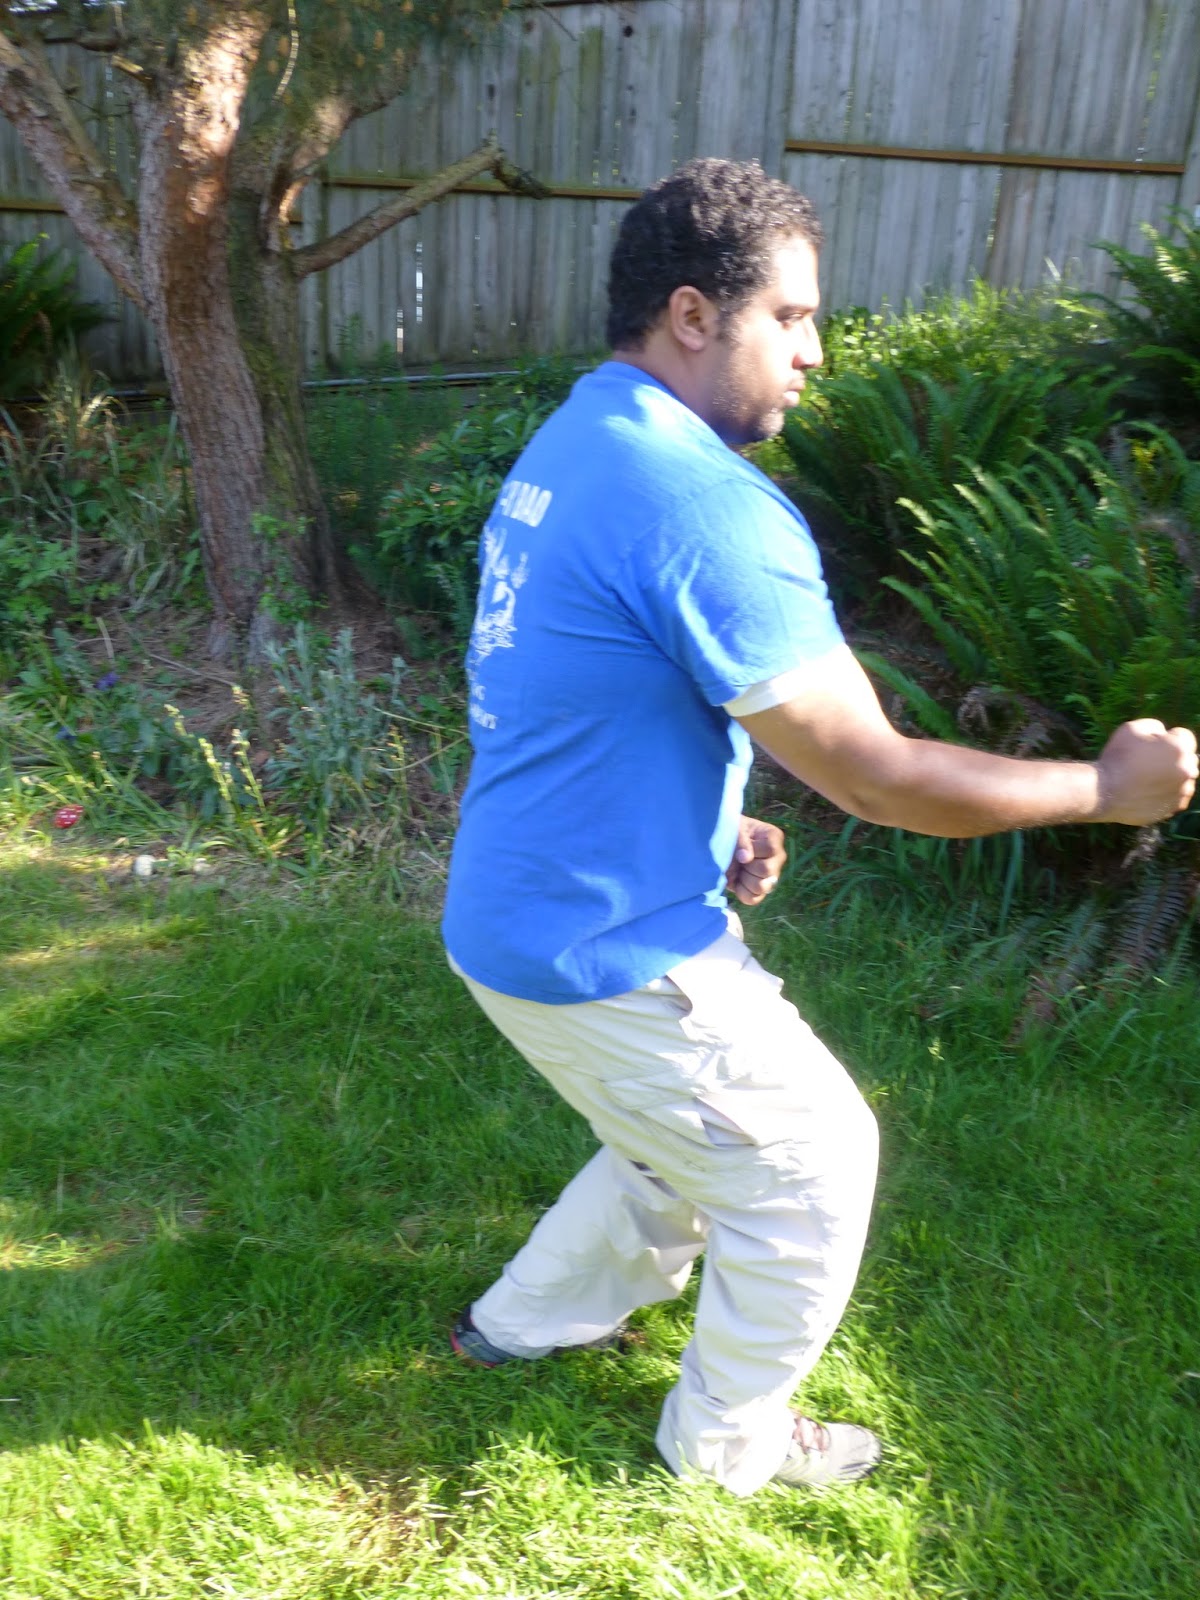
Heng Quan is traditionally taught as the fifth and final element, but since it's the second-easiest to learn it's the second one we're teaching. Traditionally, use Combined Step for this element, but if you want to change things up you can use any of the other footwork. Also, it doesn't matter if the left hand and left leg are both forward, or if they're opposite (left hand forward, right leg forward). For this format, we're just explaining the most traditional way of practicing the element.
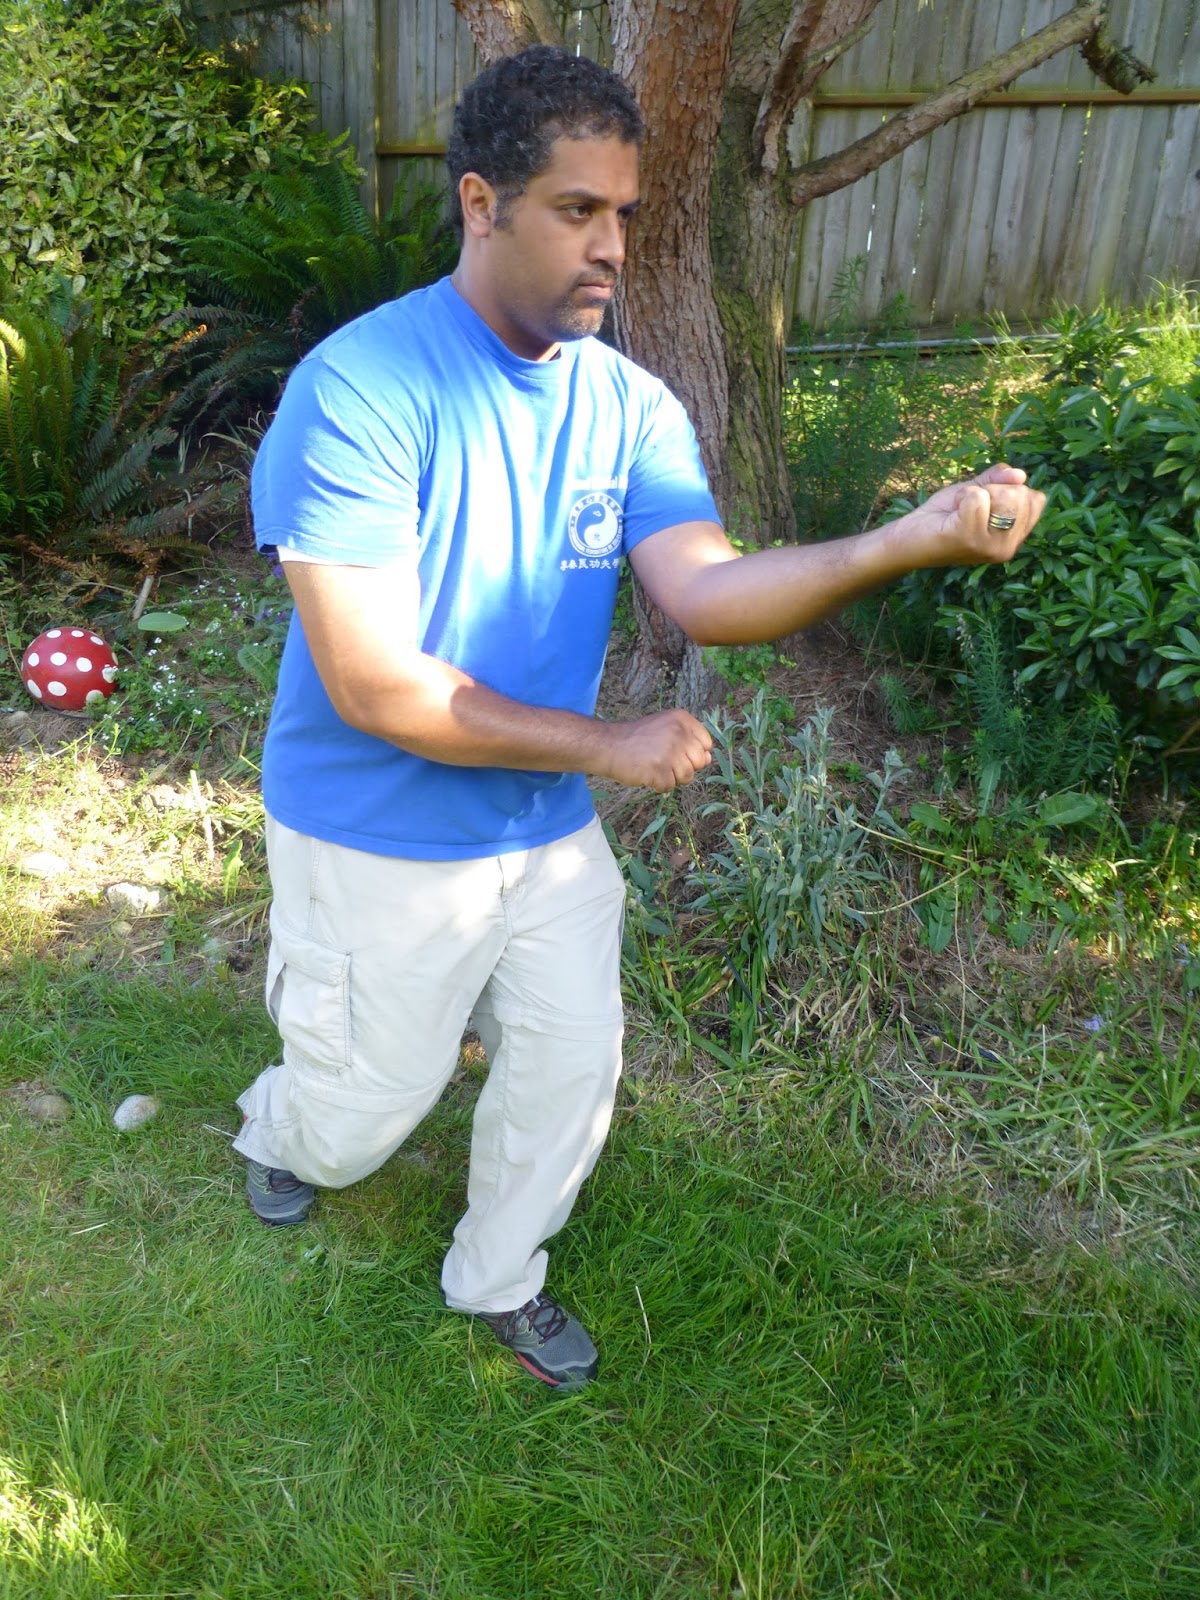
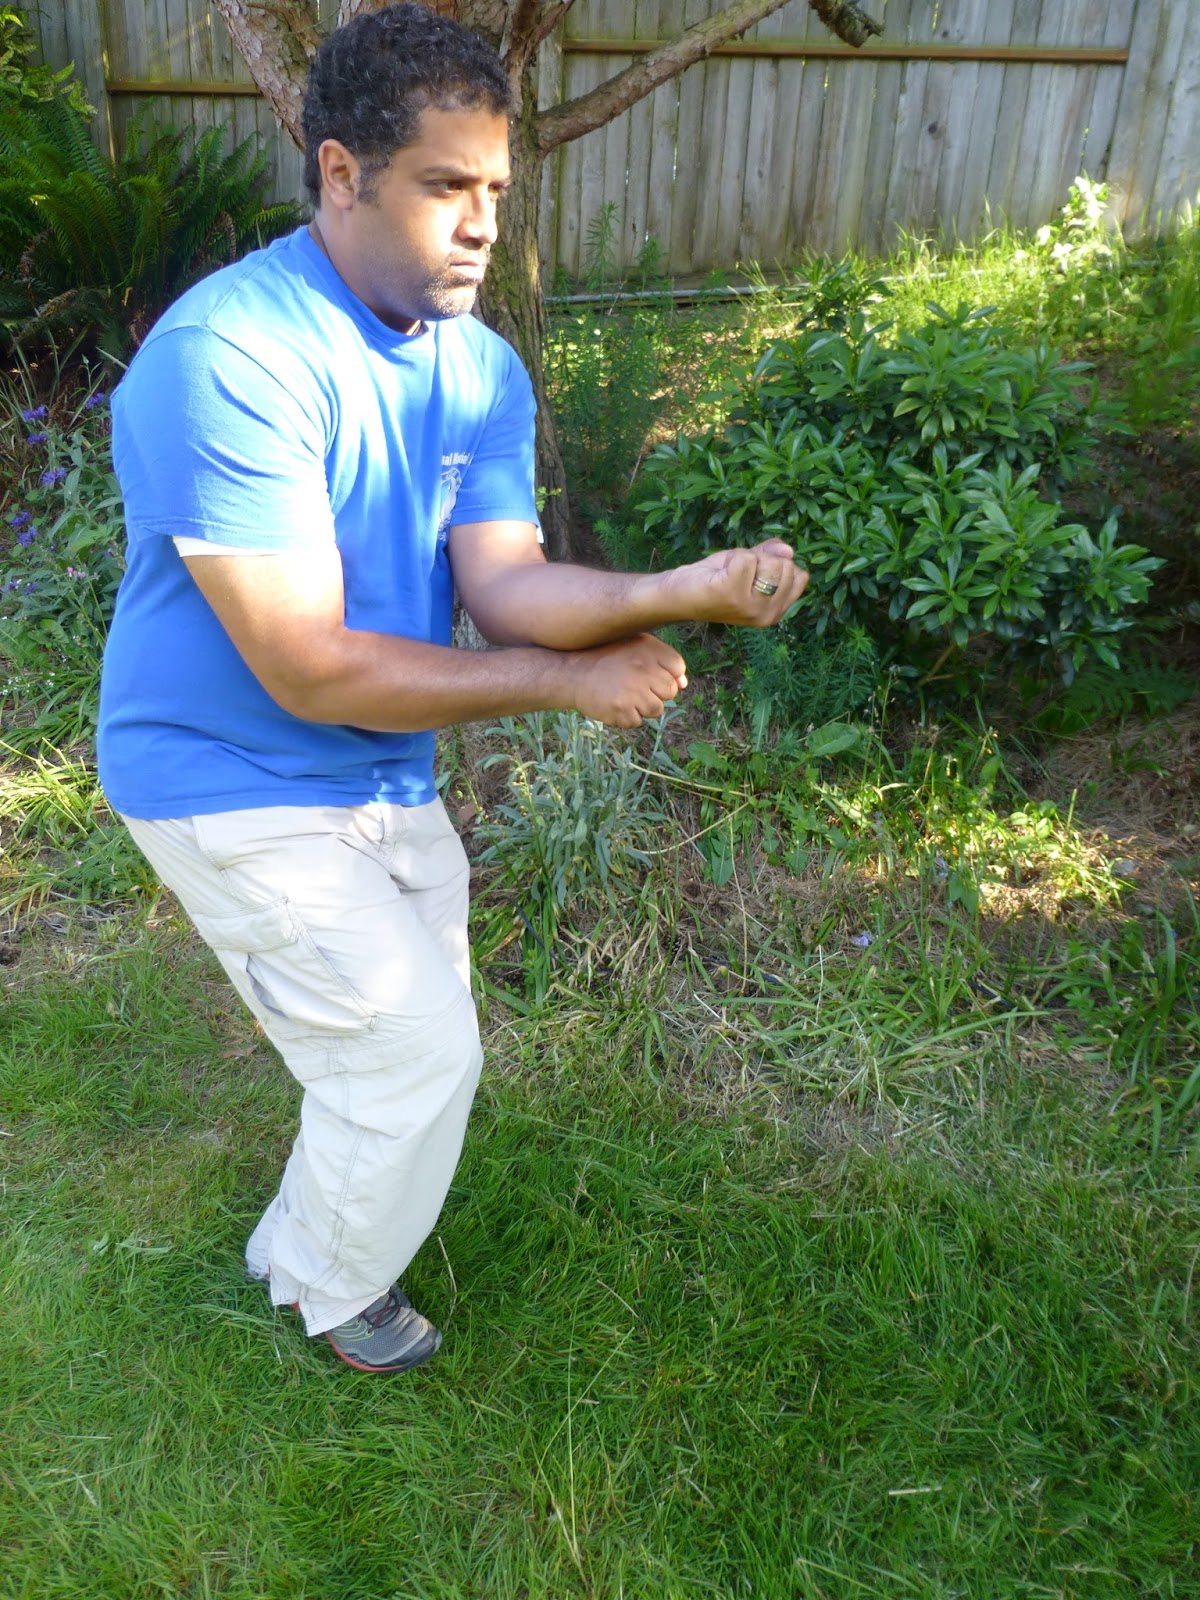


Key Points:
- Starting from a San Ti stance with the left leg forward, the left leg scoots forward into a Chicken Step, with the right leg ending up hovering at calf-height.
- At the same time, the right hand goes forward to be under the left elbow, and the left arm moves back a little closer to the body. Both hands are in fists, and both fists are vertical, with the thumb side of each hand facing the sky.
- As the right leg scoots out into a Shuffle Step, ending up in a San Ti stance with the right leg forward and weight on the left leg, the right hand shoots out from under the left arm. As the right hand shoots out, it turns over until the palm side of the fist is facing up toward the sky.
- At the same time, the left fist moves down toward the body and ends with the palm side of the fist facing down towards the ground. This fist is resting near the navel.
- Now repeat, but with the sides flipped.
- Be sure the scrape/rub your arms together throughout the move.
- Keep the joints relaxed and not fully extended.
- Keep the tongue resting on the roof of the mouth, touching behind the front teeth.
Week 4
Pao Quan
Pao Quan is traditionally taught as the fourth element. Same as Heng Quan, the Combined Step is traditionally used, and in practice it doesn't matter whether your left arm/left leg are both forward or if they're opposite.


Key Points:
- Starting from a San Ti stance with the left leg forward, the left leg scoots forward into a Chicken Step, with the right leg ending up hovering at calf-height.
- At the same time, both arms pull diagonally across the body and end down near the right hip, with the hands in fists. It's like you're pulling a rope or something down to your hip.
- As the right leg scoots out into a Shuffle Step, ending up in a San Ti stance with the right leg forward and weight on the left leg, the left arm crosses the body diagonally until the left fist is up close to your left temple.
- Simultaneously, the right fist shoots forward to about head-height. The fist is vertical.
- Now repeat, but with the sides flipped.
- Be sure the scrape/rub your arms together throughout the move.
- Keep the joints relaxed and not fully extended.
- Keep the tongue resting on the roof of the mouth, touching behind the front teeth.

Week 5
Pi Quan
Pi Quan is traditionally taught as the first element, and is arguably the most useful. The movement is a little complex, though, so we're teaching it here in Week 5. Same as the ones above, traditionally the Combined Step is used, and traditionally the left arm and left leg would both be forward or both in the rear. In practice, feel free to change it up.


Key Points:
- Starting from a San Ti stance with the left leg forward, the left leg scoots forward into a Chicken Step, with the right leg ending up hovering at calf-height.
- At the same time, the right hand rises up and covers the left hand, and both hands scoop down to the navel, then up the middle of the body. Both hands are just under the chin, with the left hand in a fist with the thumb side facing forward, and the right hand covers over the left fist.
- As the right leg scoots out into a Shuffle Step, ending up in a San Ti stance with the right leg forward and weight on the left leg, the hands move in a motion as if they're swinging an axe down with the left hand near the axe head and the right hand near the handle.
- In a detailed explanation: the left arm rises up and down over the right hand. The right hand pulls back into a fist and rests at the navel, and the left hand is in a fist out in front at waist height. Both fists are vertical.
- Now repeat, but with the sides flipped.
- Be sure the scrape/rub your arms together throughout the move.
- Keep the joints relaxed and not fully extended.
- Keep the tongue resting on the roof of the mouth, touching behind the front teeth.

Week 6
Zuan Quan
Zuan Quan is traditionally taught as the third element. Since it has arguably the most complex movement, we're teaching it last. Same as the elements above, traditionally the Combined Step is used. In practice, it doesn't matter whether the left leg and left arm are both forward or both behind, or if the left leg and right arm are forward, etc.


Key Points:
- Starting from a San Ti stance with the left leg forward, the left leg scoots forward into a Chicken Step, with the right leg ending up hovering at calf-height.
- At the same time, both hands turn counterclockwise, as if you're turning the steering wheel of a bus.
- In a detailed explanation: the left hand circles counterclockwise down to just below the navel, and the right hand circles up counterclockwise out in front of the face.
- As the right leg scoots out into a Shuffle Step, ending up in a San Ti stance with the right leg forward and weight on the left leg, the left hand shoots up in a fist into an uppercut and the right hand shoots down in a fist to just below the navel. The left fist has the top of the hand facing forward, and the right fist is facing down with the knuckles forward.
- Now repeat, but with the sides flipped.
- Be sure the scrape/rub your arms together throughout the move.
- Keep the joints relaxed and not fully extended.
- Keep the tongue resting on the roof of the mouth, touching behind the front teeth.
No comments:
Post a Comment